Bonding with Sigma Type 1 Units
Sigma bonds, in actual chemistry, happen when two atoms share a single electron in each of their respective S orbitals. In Origamic Chemistry, this is represented by either of two different bond units depending on how the atoms need to be rotated with respect to each other.
This demonstrates how to attach atoms together with the first type of sigma bonds and in the process you'll build your first molecule: H2O - Water.
On one side of the bond - in this case, the hydrogen - one point of the bond unit goes into the pocket on the atom unit going the opposite direction that the atom points go in. On the other side, to points of adjacent bond units combine and go into each pocket of the atom unit, again in the opposite direction that the atom points go in. The atom points then partially cover the bond unit and the combination results in two atoms that are well connected.
Photos and descriptions ©2018 by DofTNet Enterprises is licensed under CC BY-SA 4.0
First

Taking one of the bond units, tuck the combined point into the pocket on the atom - this goes into the pocket in the opposite direction that the atom point does.
Going in

First point going in
Cover it

Take the atom point and put it in the same pocket as it would normally go, covering a part of the bond unit in the process.
Result

The part of the bond unit that goes into the pocket is now covered. The two branches of the bond will go into the other atom.
Next

Same thing with the next bond unit, stuff that middle point into the pocket
Going In

The next bond unit going in
Cover this one, too

Hopefully you're getting the hang of this... cover up part of this bond unit by sticking the next atom point into the pocket.
Third

The middle point on the third bond unit goes into the pocket on the last available atom unit.
Like so...

Yeah.
And Again

Stick that last atom point into it's pocket
One side done

So that's got the one side done. Notice how the points of the zig-zag branch of one bond unit overlaps the point on the straight branch of the next bond unit over.
Head on view

The overlapping points will go into the pockets on the connecting atom together as though they were a single point
Second Atom

So, now we start attaching modules from the second atom. Take both of the overlapping points and tuck them into the pocket.
In The Pocket

This is how it should end up.
Next Unit

Same thing, slide both of the overlapping points into that pocket...
Sliding it in

DofT has found that it's easier to start it at the end and slide it into place...
In The Pocket

Eventually it should end up like this. It gets tricky with all these layers so once this is in position, make sure that the the bond units go completely into the pocket so that you'll be able to get the atom point in over it.
Cover it

The point from the second atom module should now be put into it's pocket, covering part of the bond modules in the process.
Going in

Here's the atom point going into it's pocket over the bond module
Last Atom Module

Finally, slide the last two overlapping bond points into the last atom pocket.
Slide it in

This is easier, again, if you start at the end and slide it into place.
Point into Pocket

Take the next atom point and put it into it's pocket, covering part of the bond units in the process.
Like so

Going in...
Almost done

Once it's all the way in
One last point

Take the last atom point and put it into the last remaining atom pocket, covering the last of the bond units in the process
Going in

Tucking that last point into that last pocket.
One Bond

Now you have one atom bonded to a part of another atom. Assemble the rest of the atom, including any other boded atom parts, as you would normally.
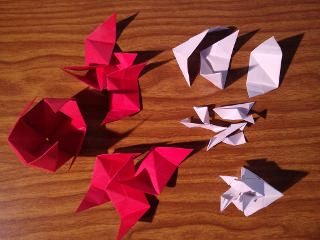
Full Molecule

Attaching two hydrogens to an oxygen give you a completed molecule of water!