Building Atoms
If you've ever built anything with sonobe modules, this will be pretty familiar - sticking points in pockets to build adjascent cube corners in pseudo-stellated polyhedra.
But we never like to assume, so just in case, here's how to assemble the atoms.
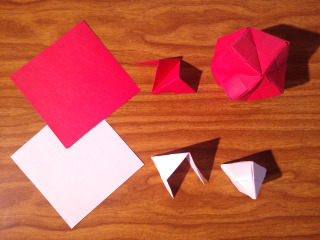
For most models, atoms come in roughly two sizes which are detailed below:
- 12 unit constructions for things like carbon, nitrogen, and oxygen
- 3 unit constructions for hydrogen
Probably in most cases, these two sizes are fine, but for some things like DofT's Origami DNA, he's using a larger 30 unit construction for the phosporus. The assembly process for these is similar to 12 unit constructions so, for now, we'll leave that as an exercise to the reaser.
Photos and descriptions ©2018 by DofTNet Enterprises is licensed under CC BY-SA 4.0
Basic Assembly
Take three units. The point of one unit goes into the pocket of the next unit.
In Process
Like So...
All Three
When all three units are put together, you end up with a cube corner with points and pockets available for adjascent units...
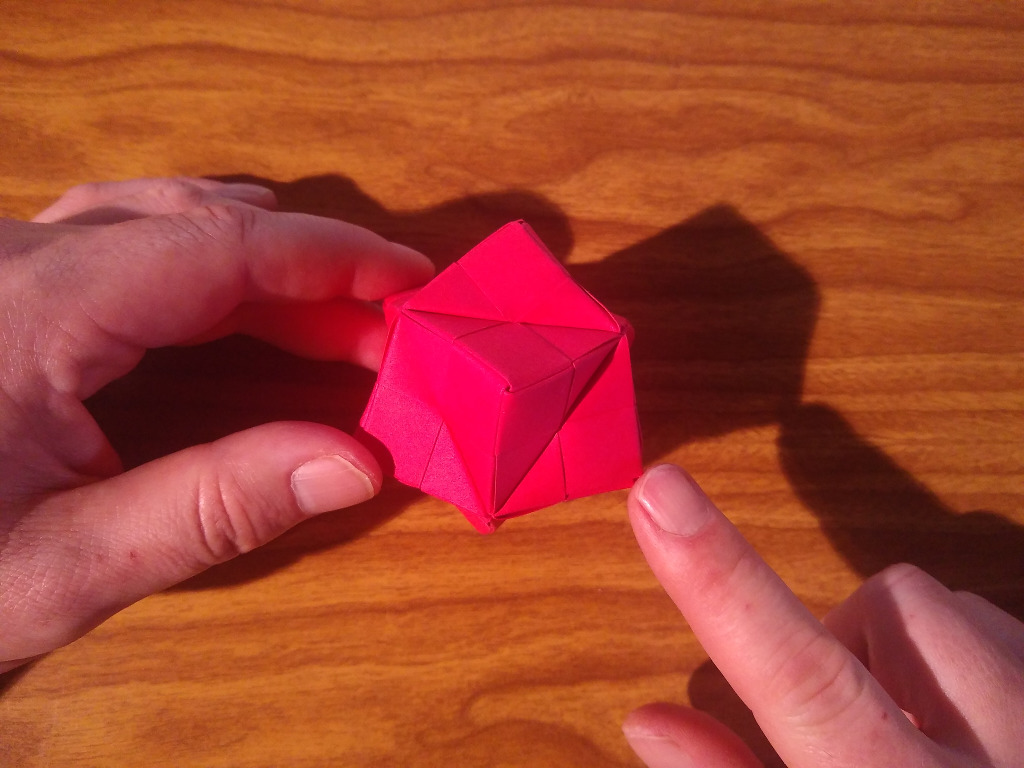
Twelve Units
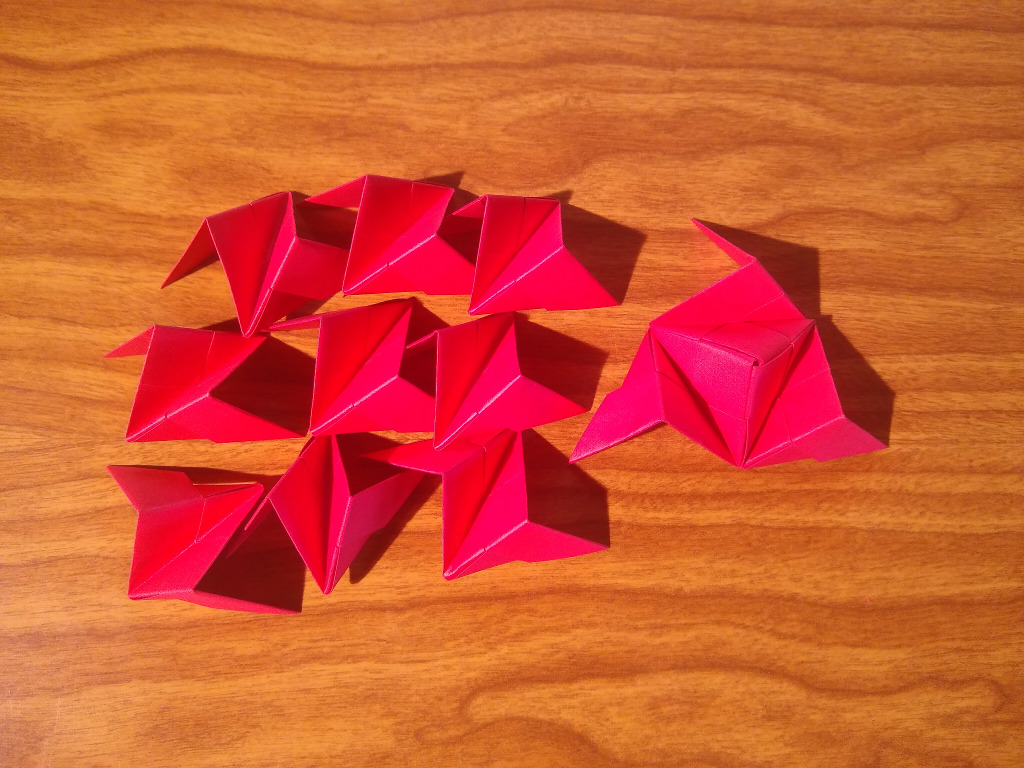
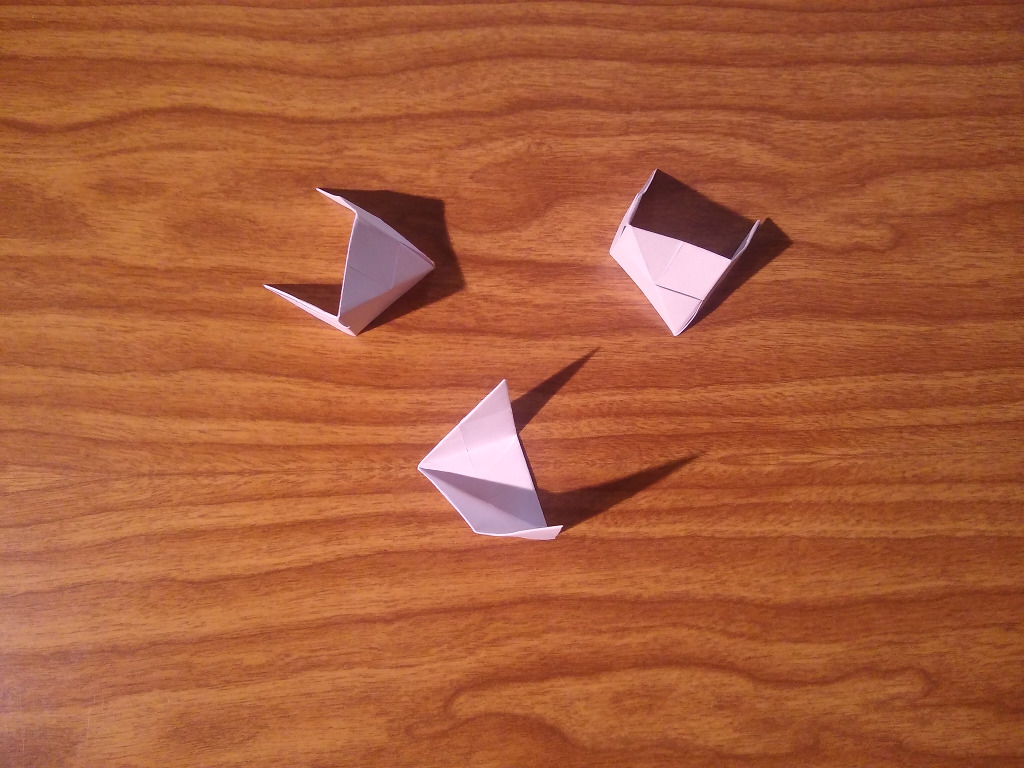
If you're so inclined to figure it out from here, just add the remaining 9 units until it looks right... but an easy way in this case is to take the remaining units and assemble them in groups of three so that you have four cube corner bits
Four Parts
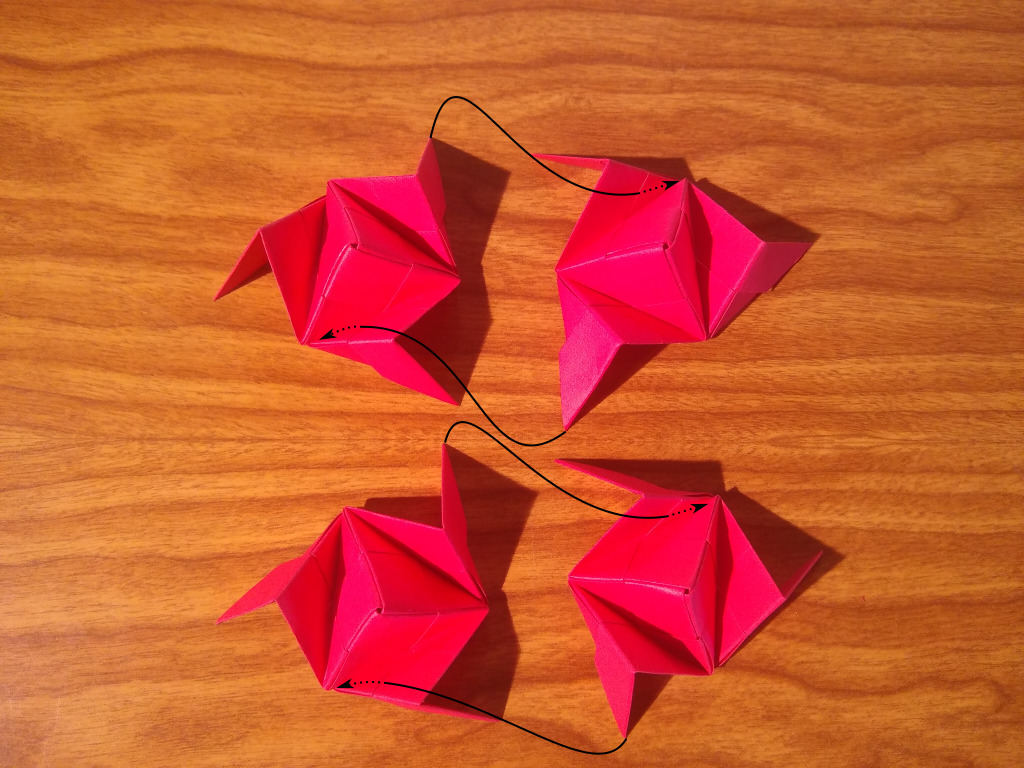
Pair off your cube corners and put the the bottom point on the right into the bottom pocket on the left and top point of the left into the top pocket on the right.
Point in Pocket
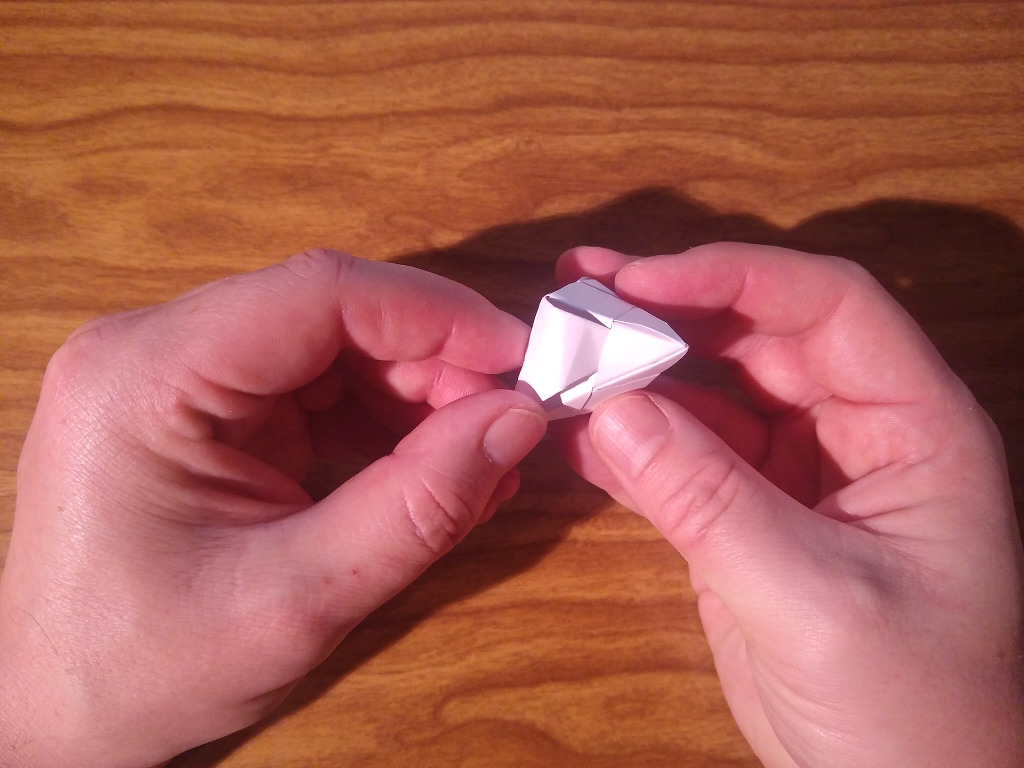
Here's that bottom point going into the bottom pocket..
Point in Pocket
And the top point going into the top pocket
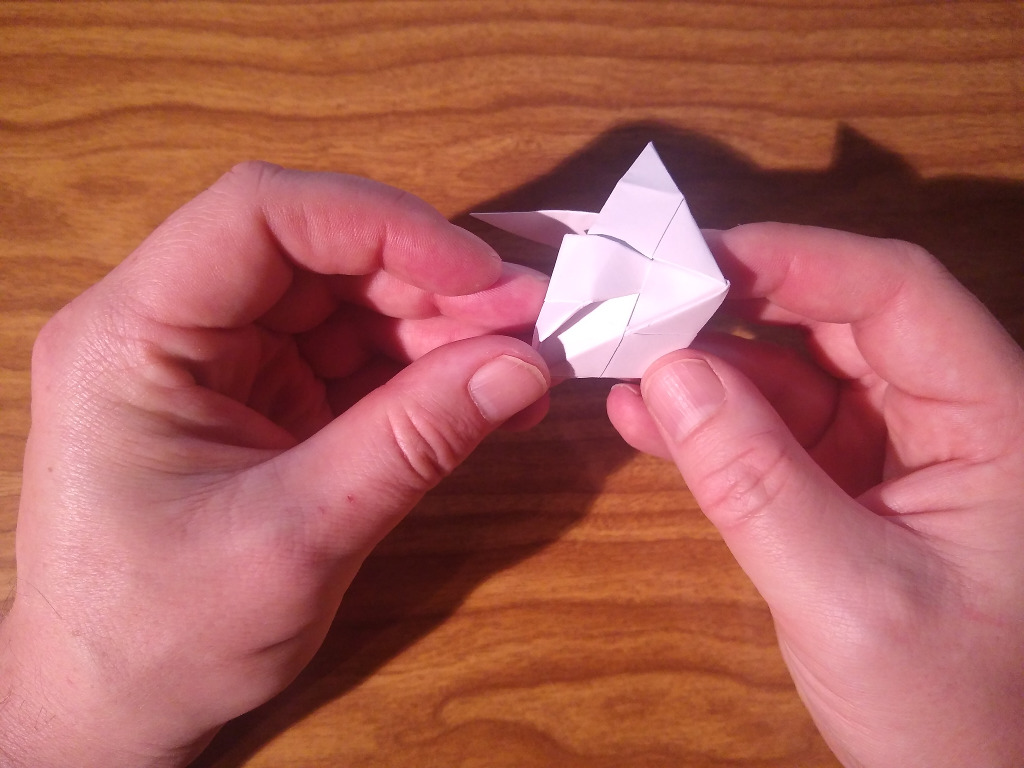
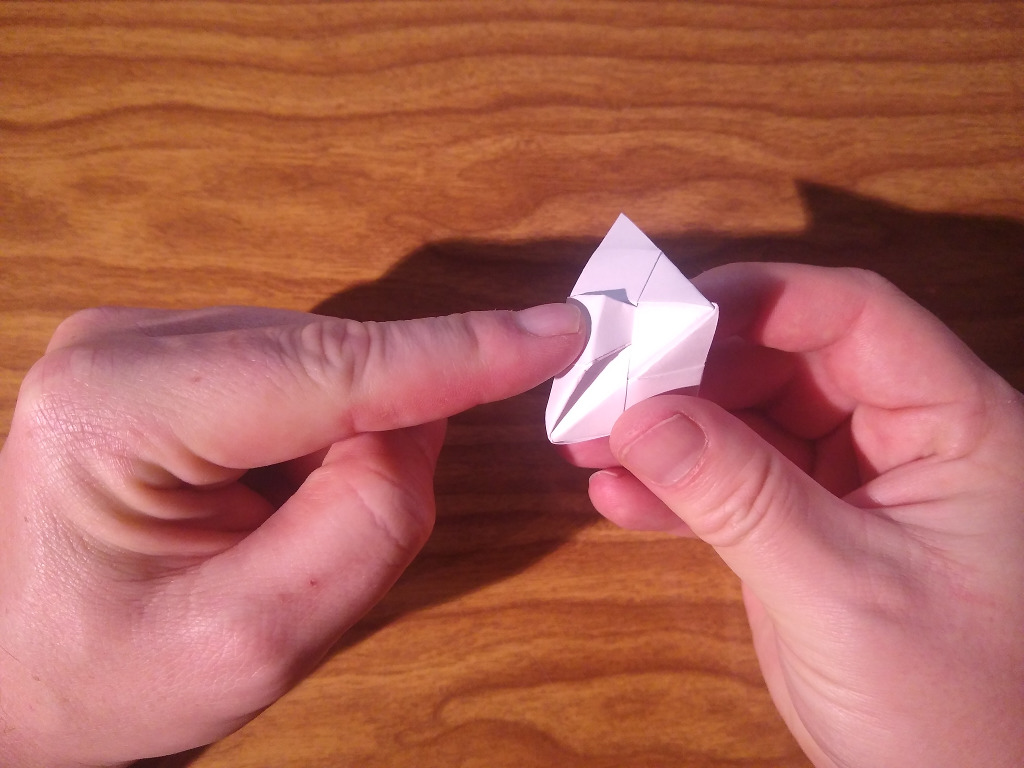
Half Atom
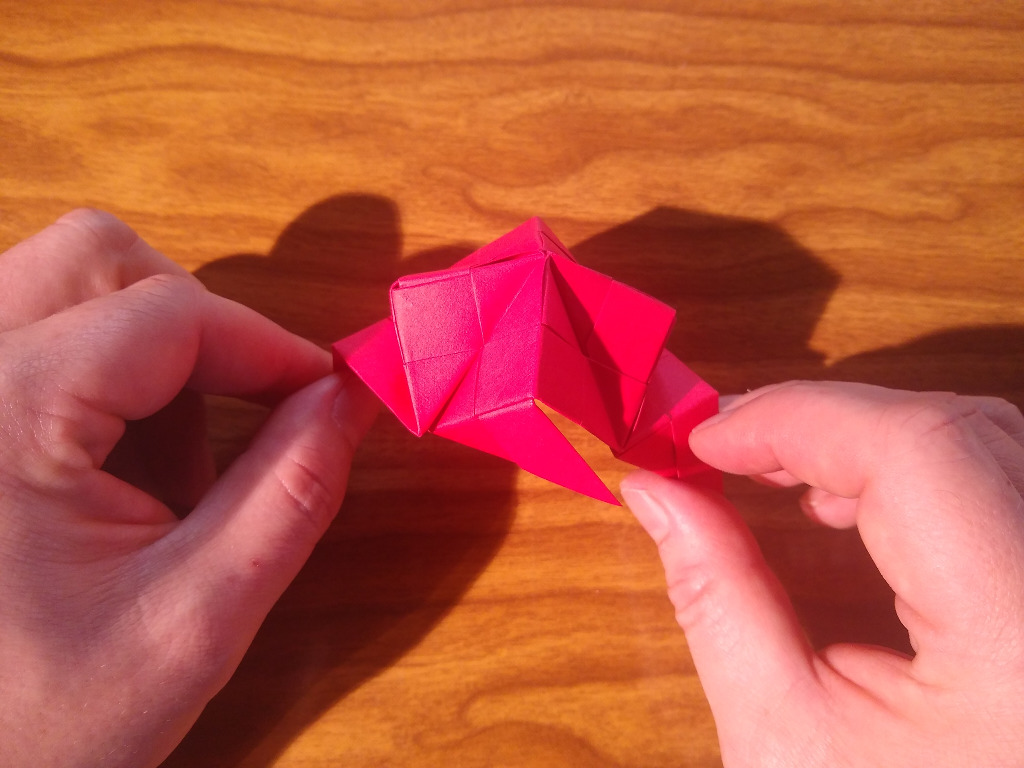
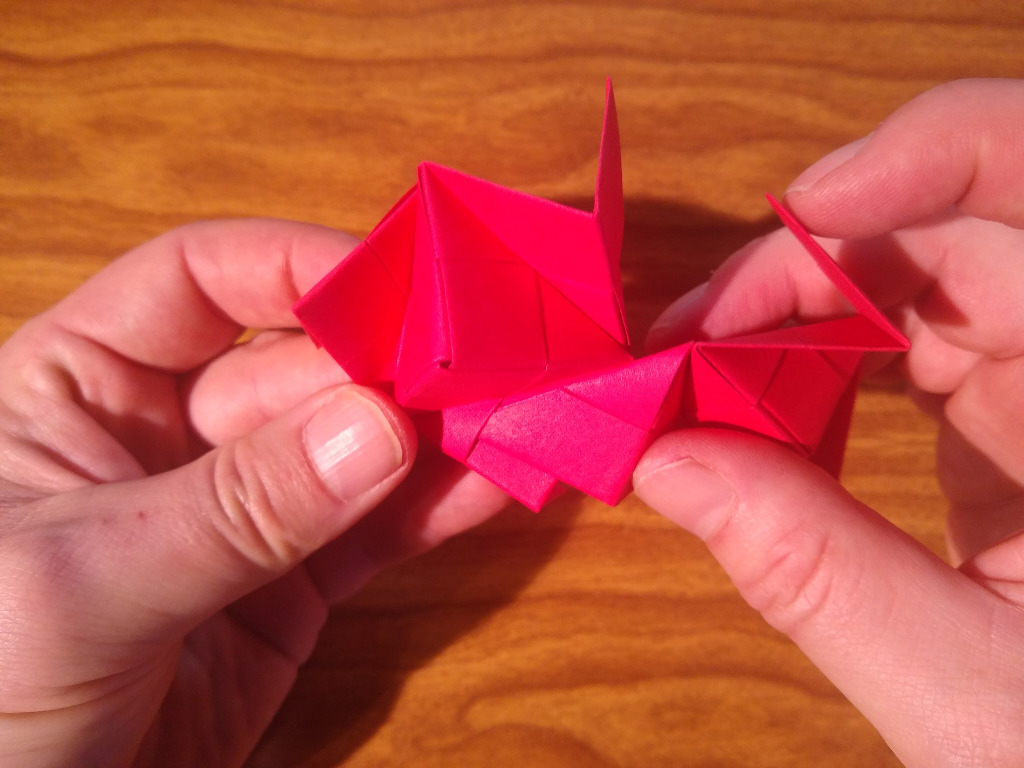
You should end up with something like this. Two of these, actually.
Two Halves
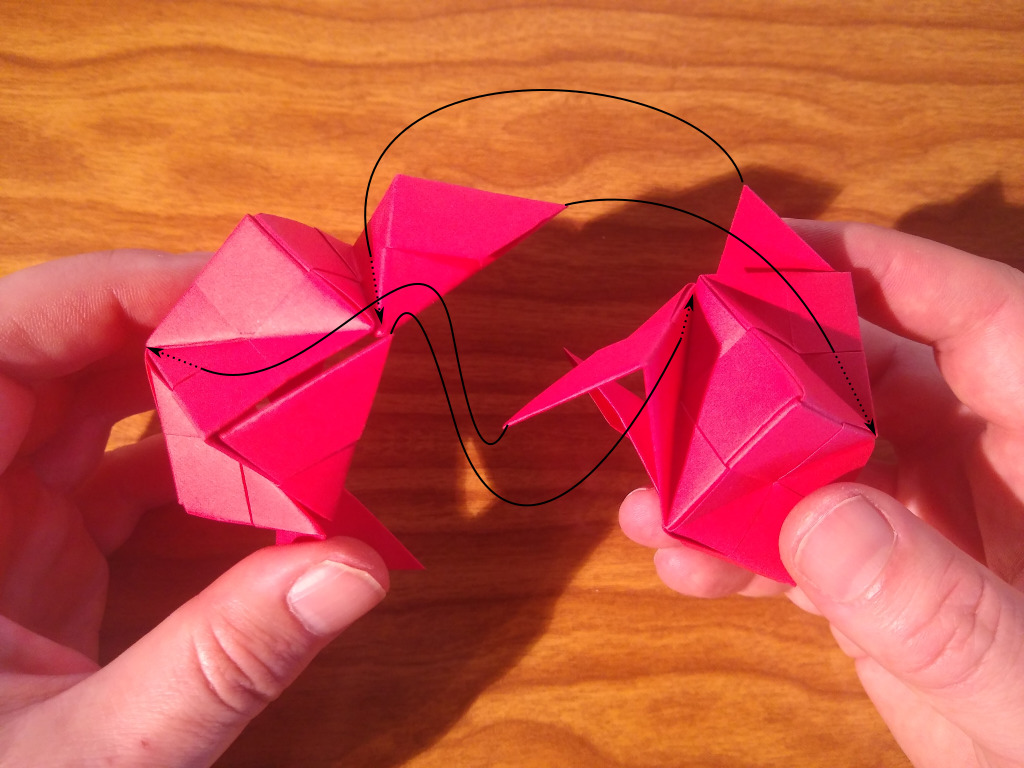
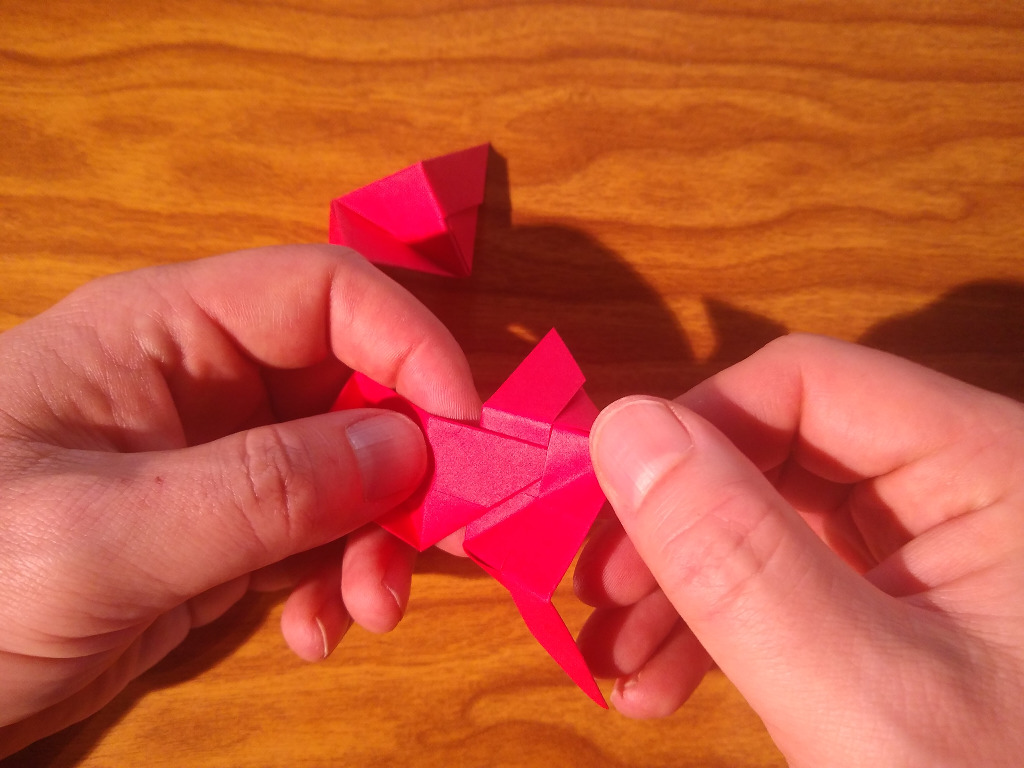
So next it's time to stick your two halves togeter. Stick each unpaired point into the paired pocket and the paired point into the unpaired pocket... We hope this makes sense, but hopefully the photo makes it a little more clear. Note that you'll have a total of 8 points and pockets to pair up. The photo only shows half of the process so you'll need to repeat this on the other side as well..
Points In Pockets
This shows the process of putting two of the points into two of the pockets...
More points
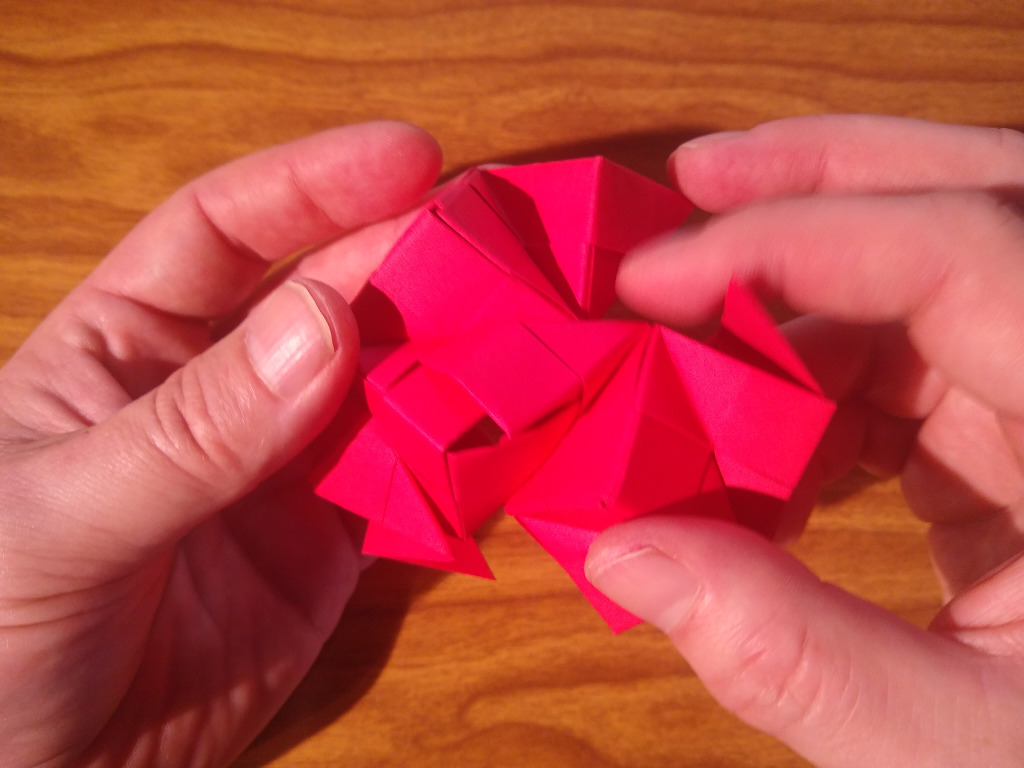
Getting the points oriented and ready to slide into their respective pockets...
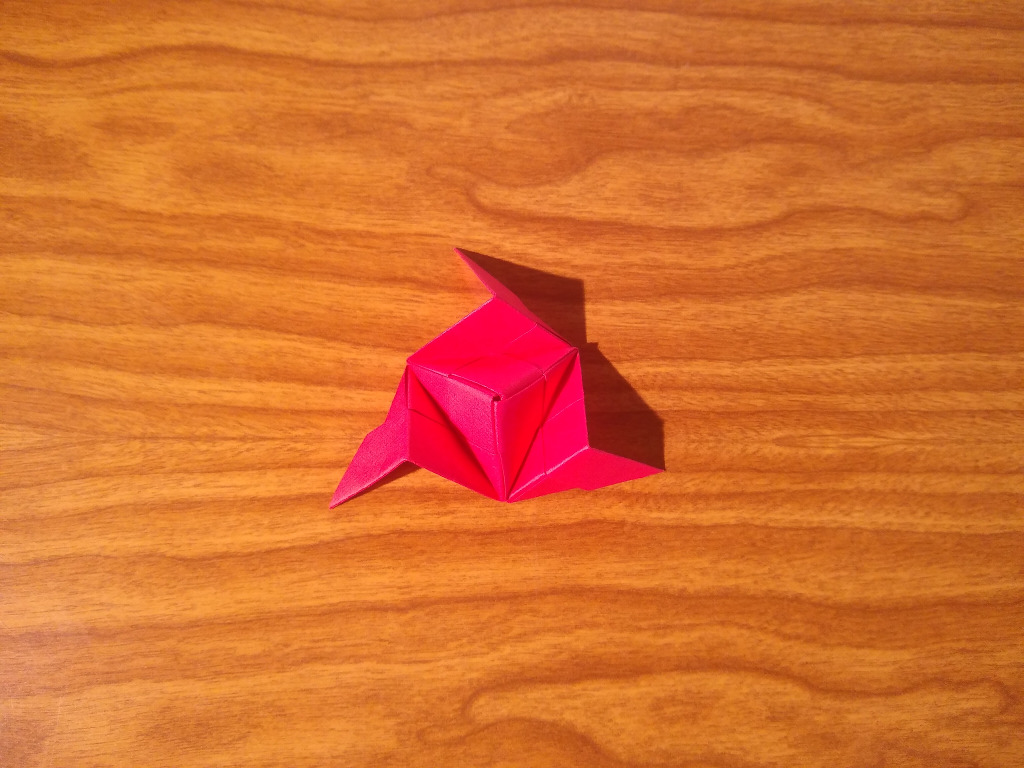
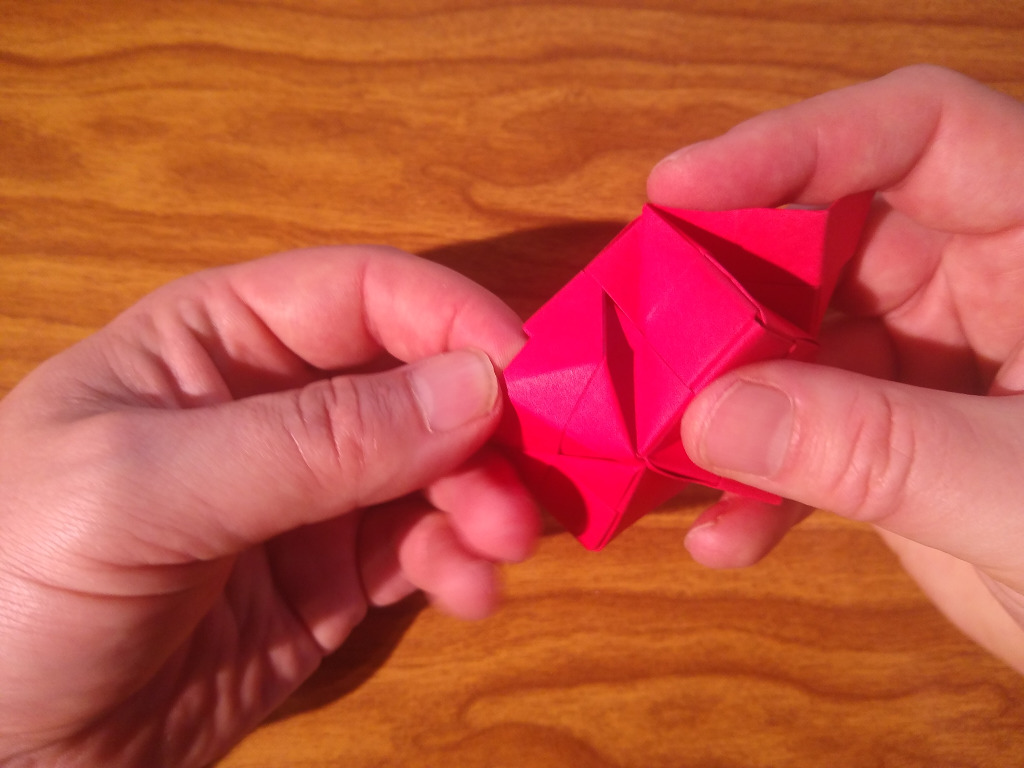
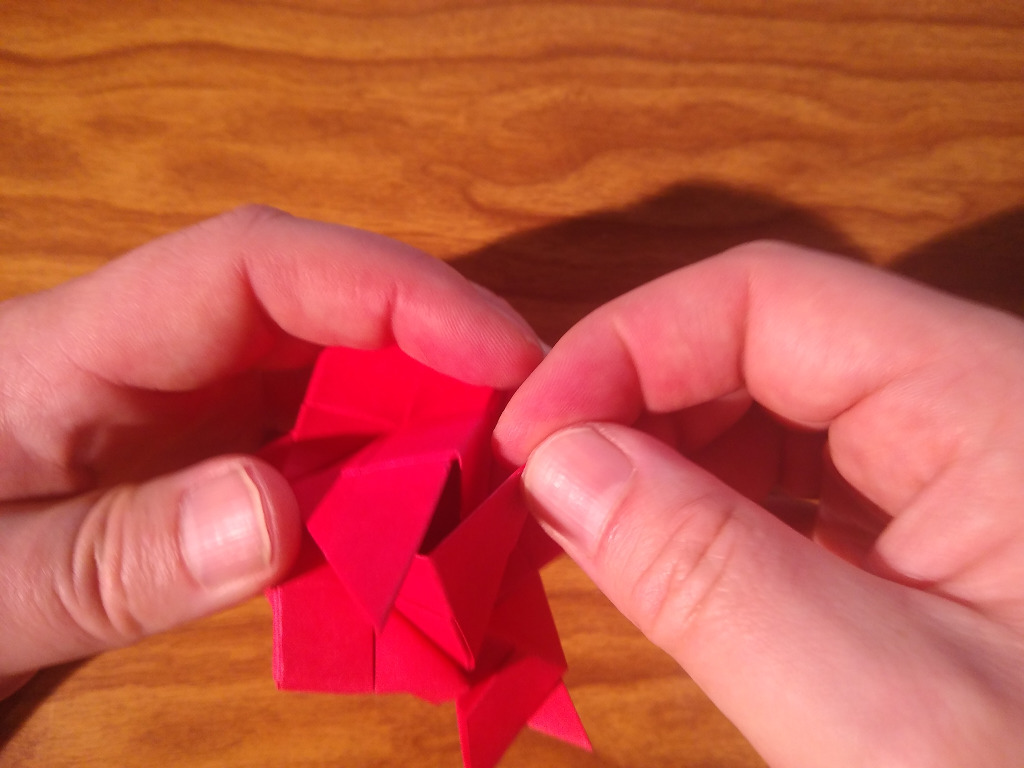
An Atom
Once you get all those points into all those pockets, you have completed your 12 unit atom.
Hydrogen
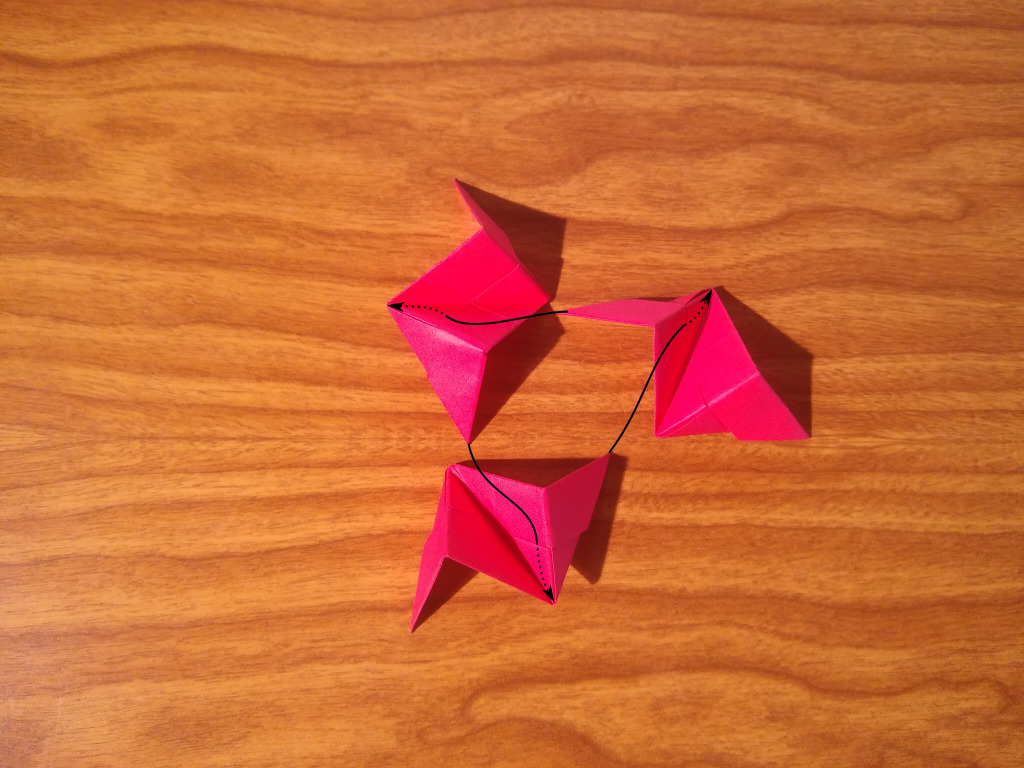
Hydrogen only uses three units. The initial assembly is the same where three points go into three pockets, but instead of connecting to more modules, they just wrap around and tuck into each other again
Point 1
The first point goes into the first pocket
Point 2
Second point going into the second pocket
Point 3
Third point going into the third pocket
That's it!
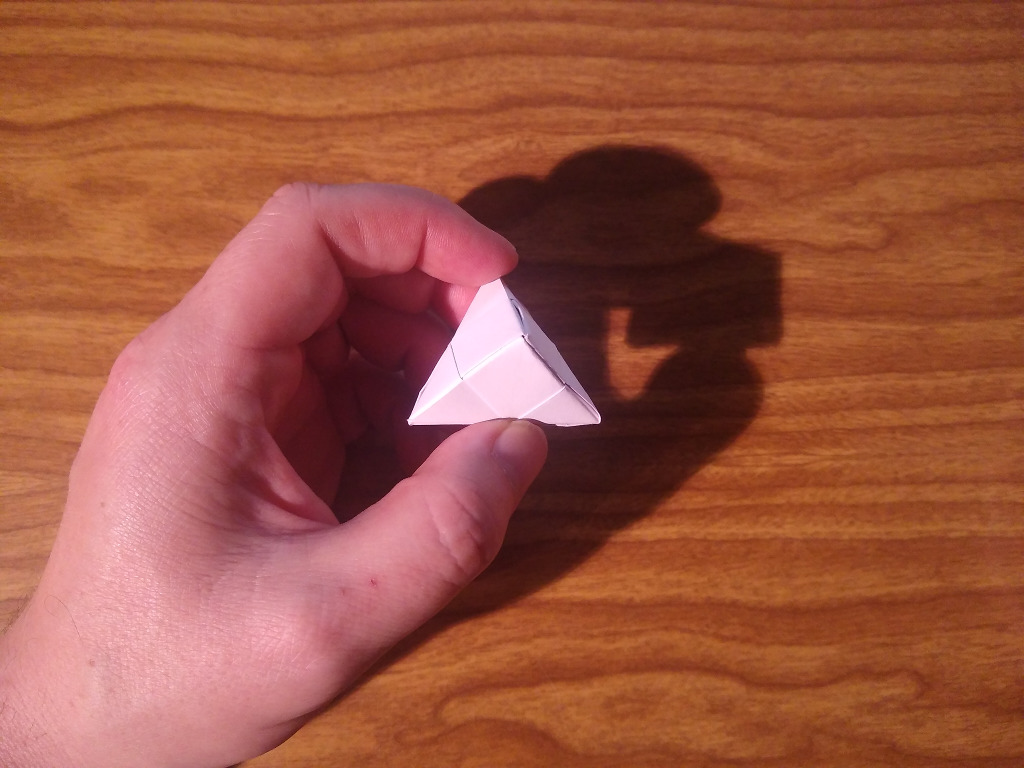
And you're done. That was easy!