Instructions: Rose Stem

This is a relatively simple design for a stem that can be wedged into the little pockets in the base. I came up with this shortly after I finished designing the base because... well... hey, you gotta have a stem, right?
Design, photos, and descriptions ©2018 by DofTNet Enterprises is licensed under CC BY-SA 4.0
 Step 1
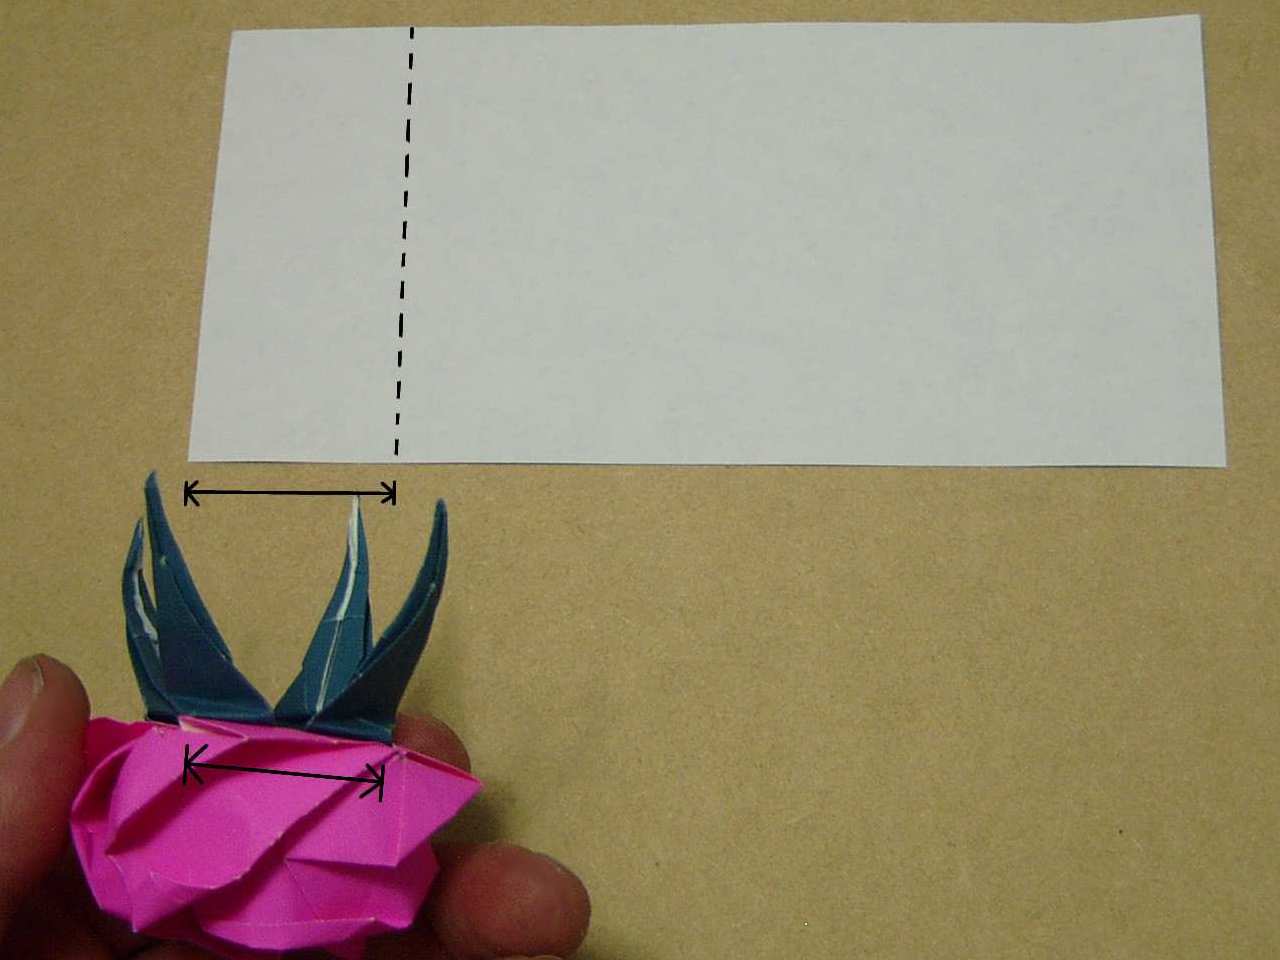
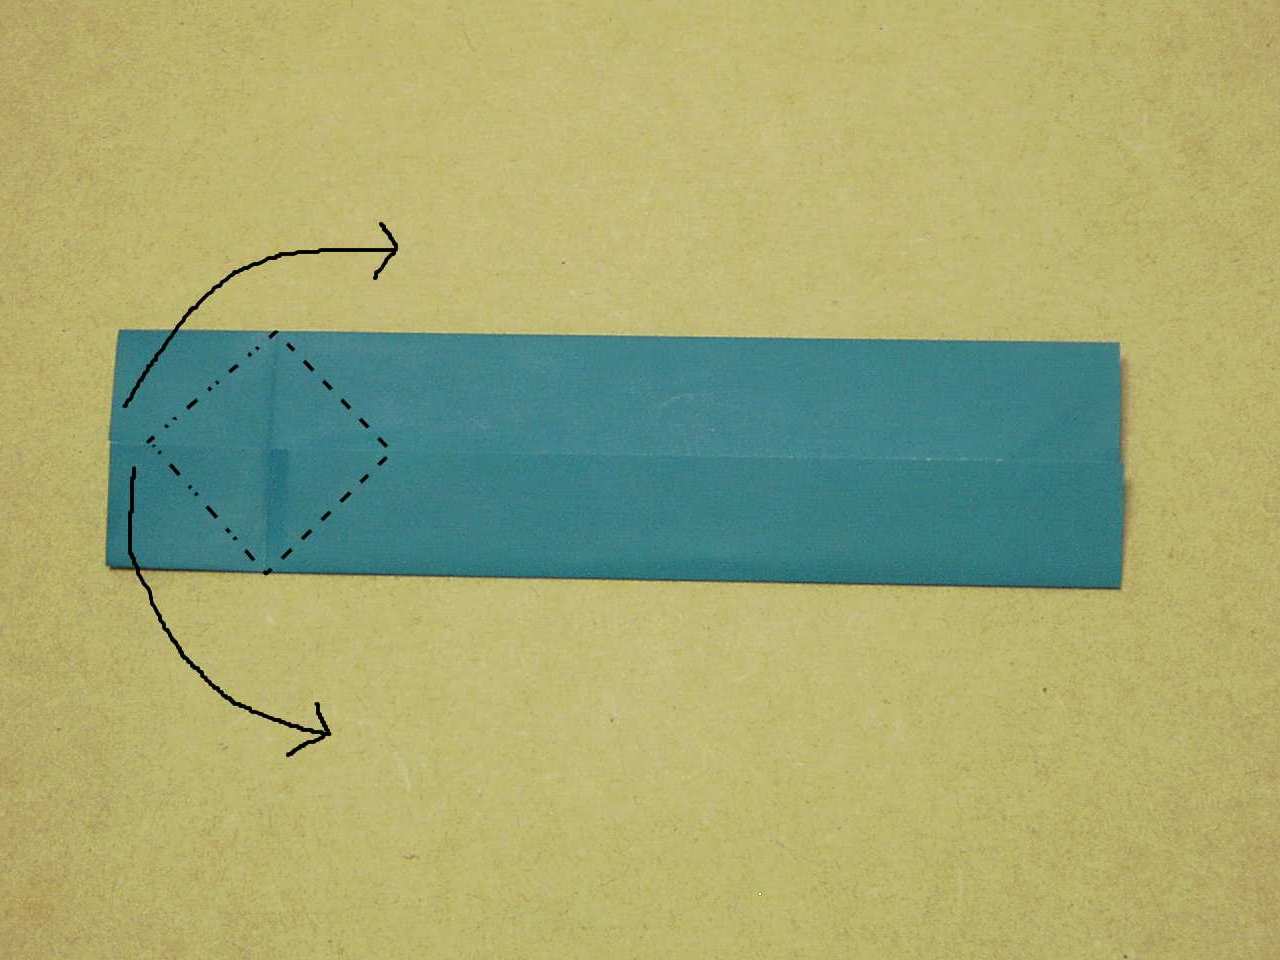
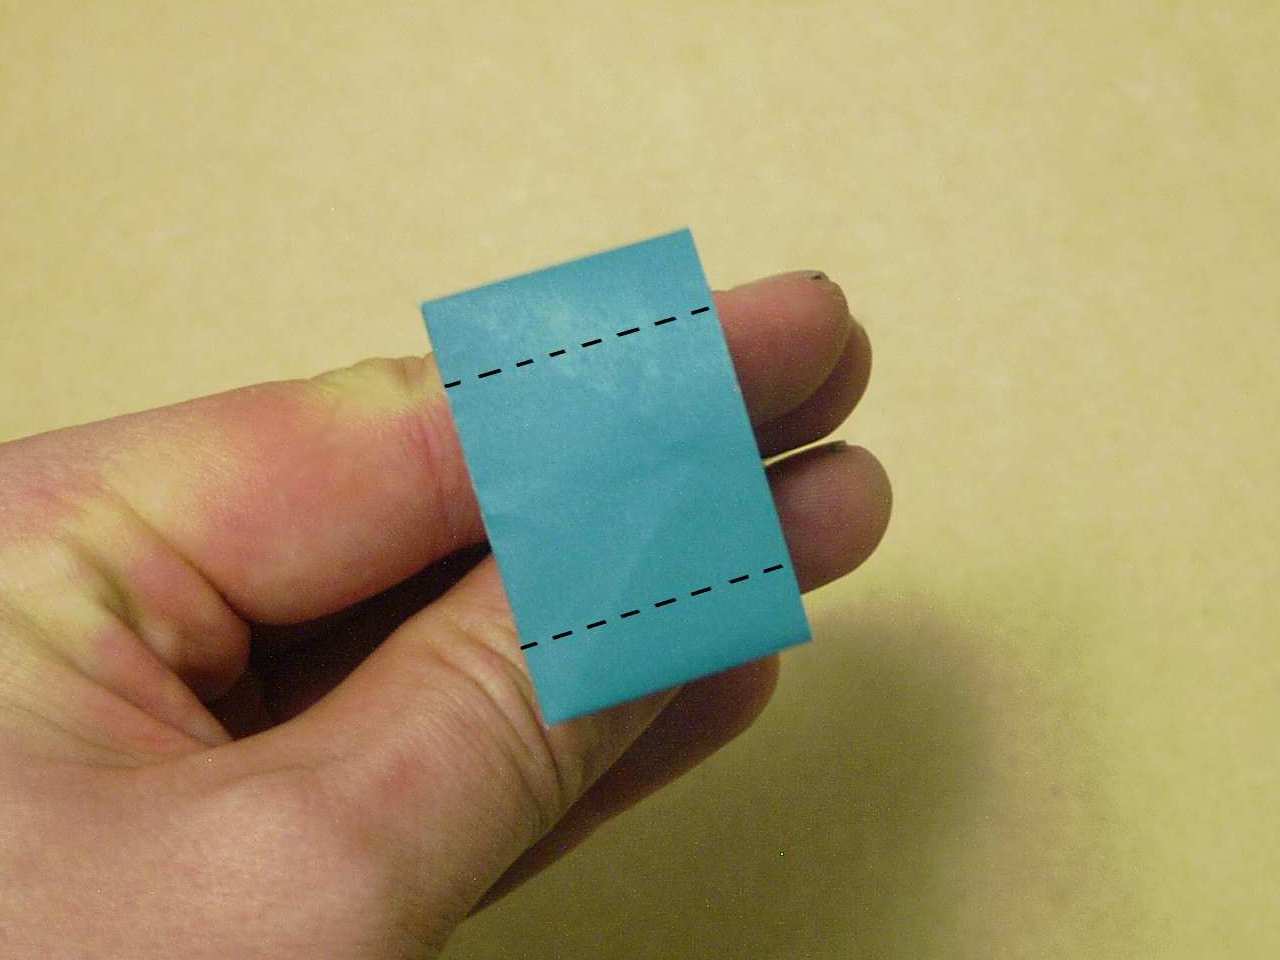
Start with a rectangle of paper in whcih the short edge is half the length of the square you folded the rose and base out of. The long edge should be at least the length of the paper for the rose but can be longer if you want a longer stem. Shown is a half square, color side down. Valley fold where the length from the fold to the short edge is about equal to adjascent corners of the rose base.
 Step 2
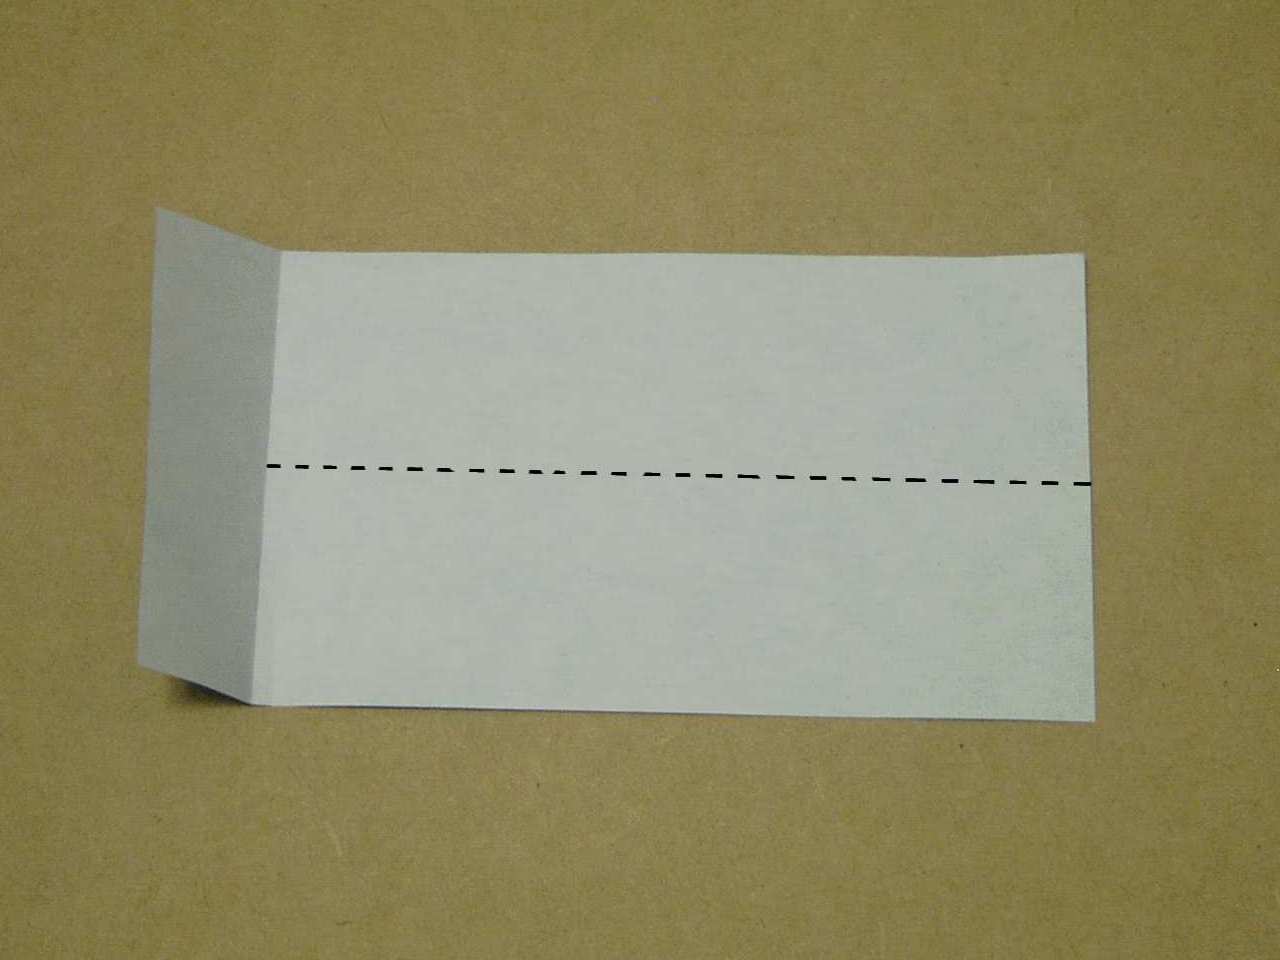
Valley vold in half the long way from the center of the crease from step 1 to the opposite short edge.
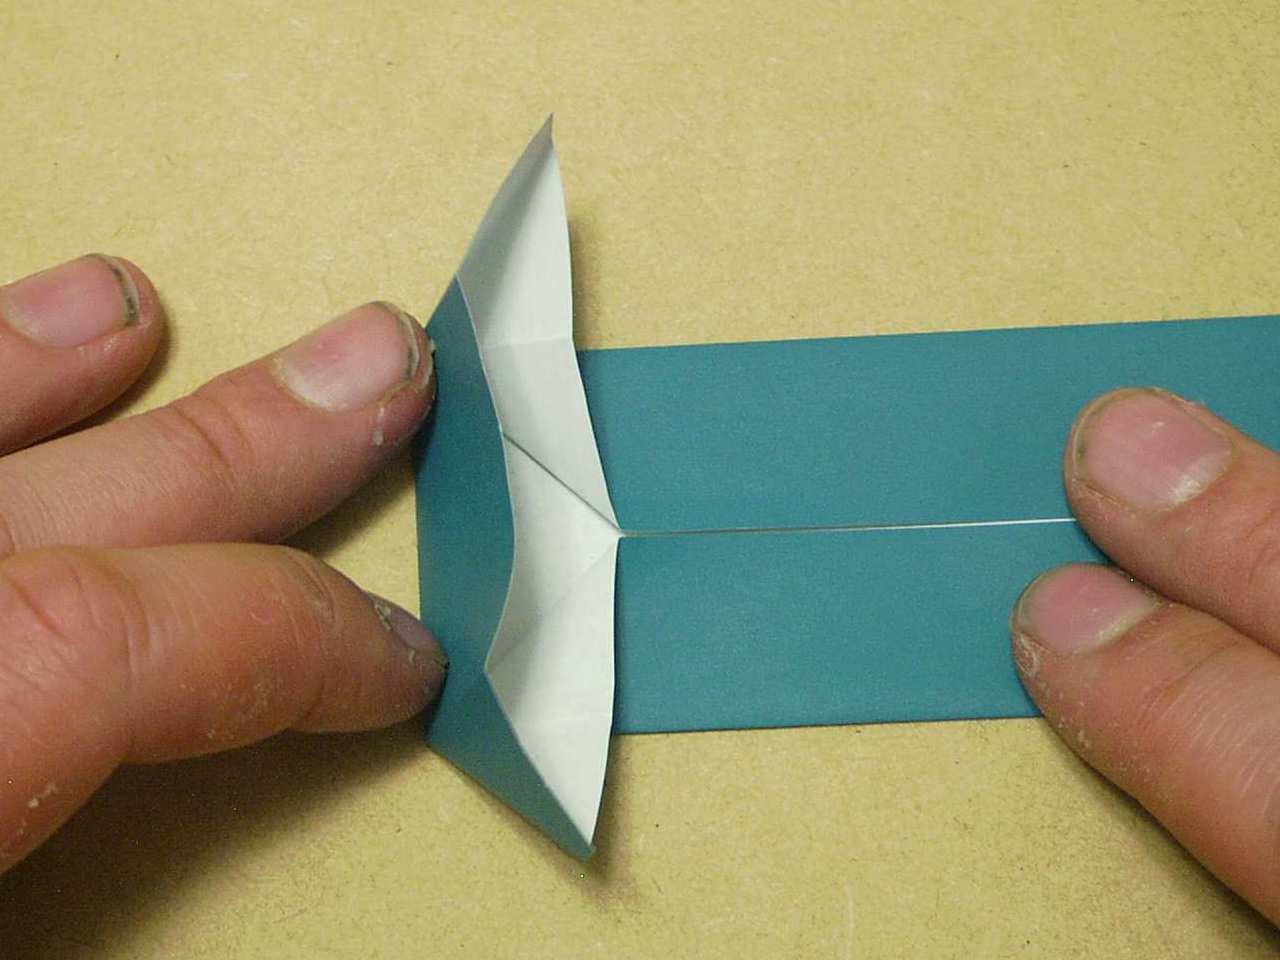
 Doing Step 2
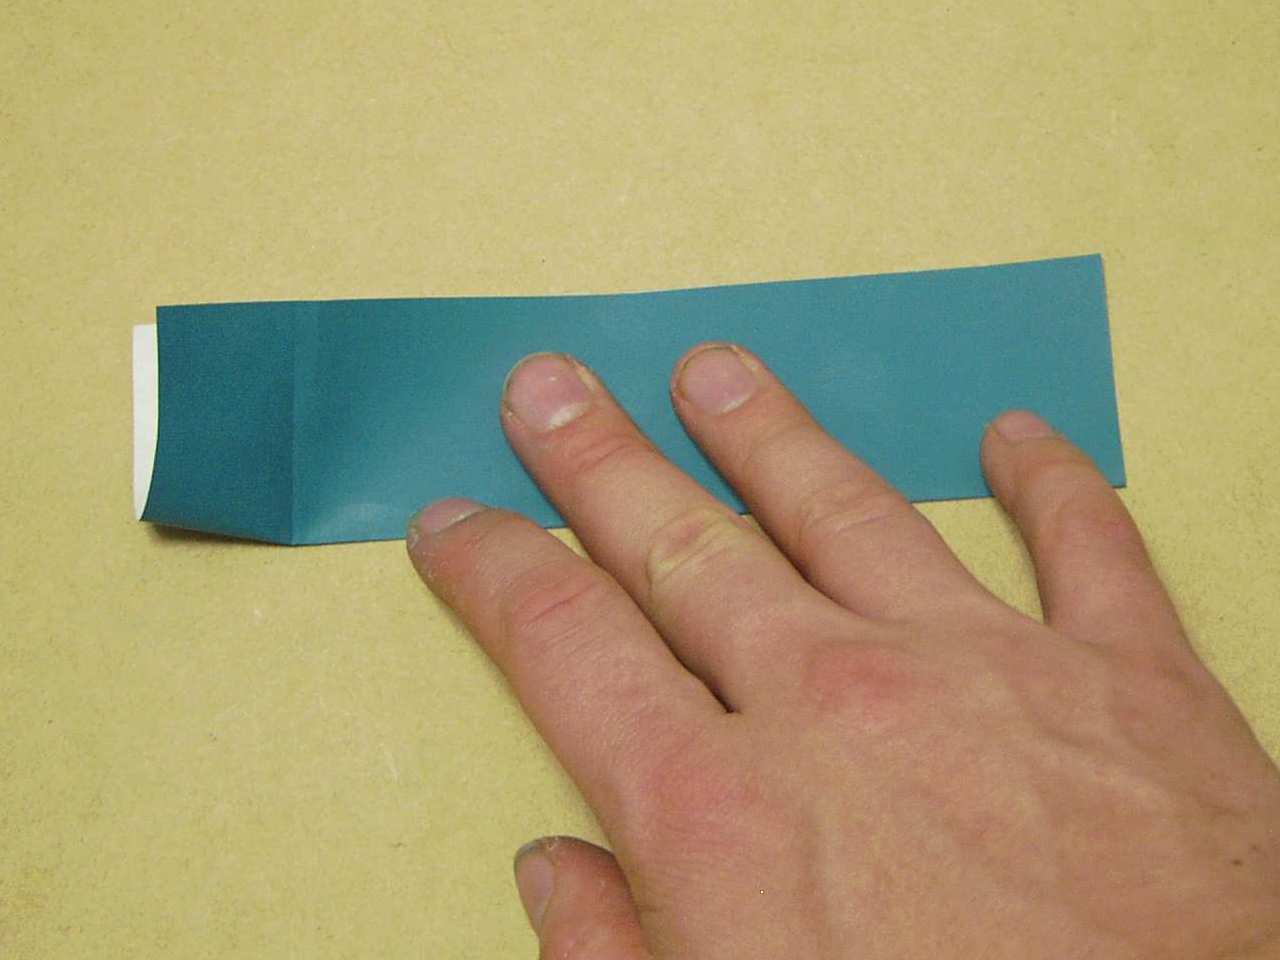
... as seen here.
 Step 3
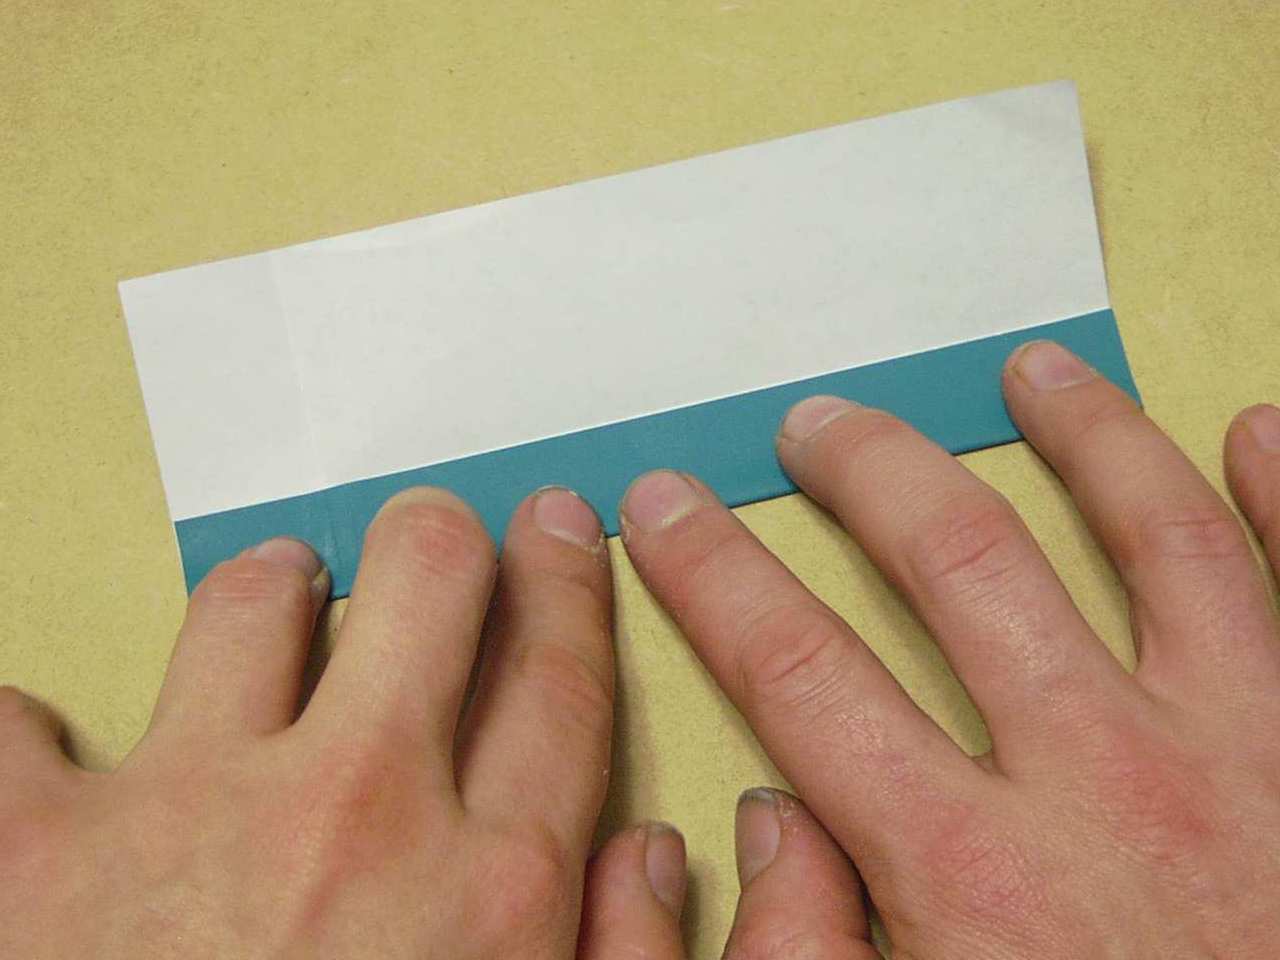
Valley fold as shown. The long edge should line up with the center crease from step 2. Note that both of these creases are made the entire length of the paper.
 Doing Step 3
as seen here.
 Step 4
Open the top layers out while valley folding and mountain folding where indicated. Valley fold the bottom layer following the crease from step 1.
 Doing Step 4
This is how it should look while folding step 4.
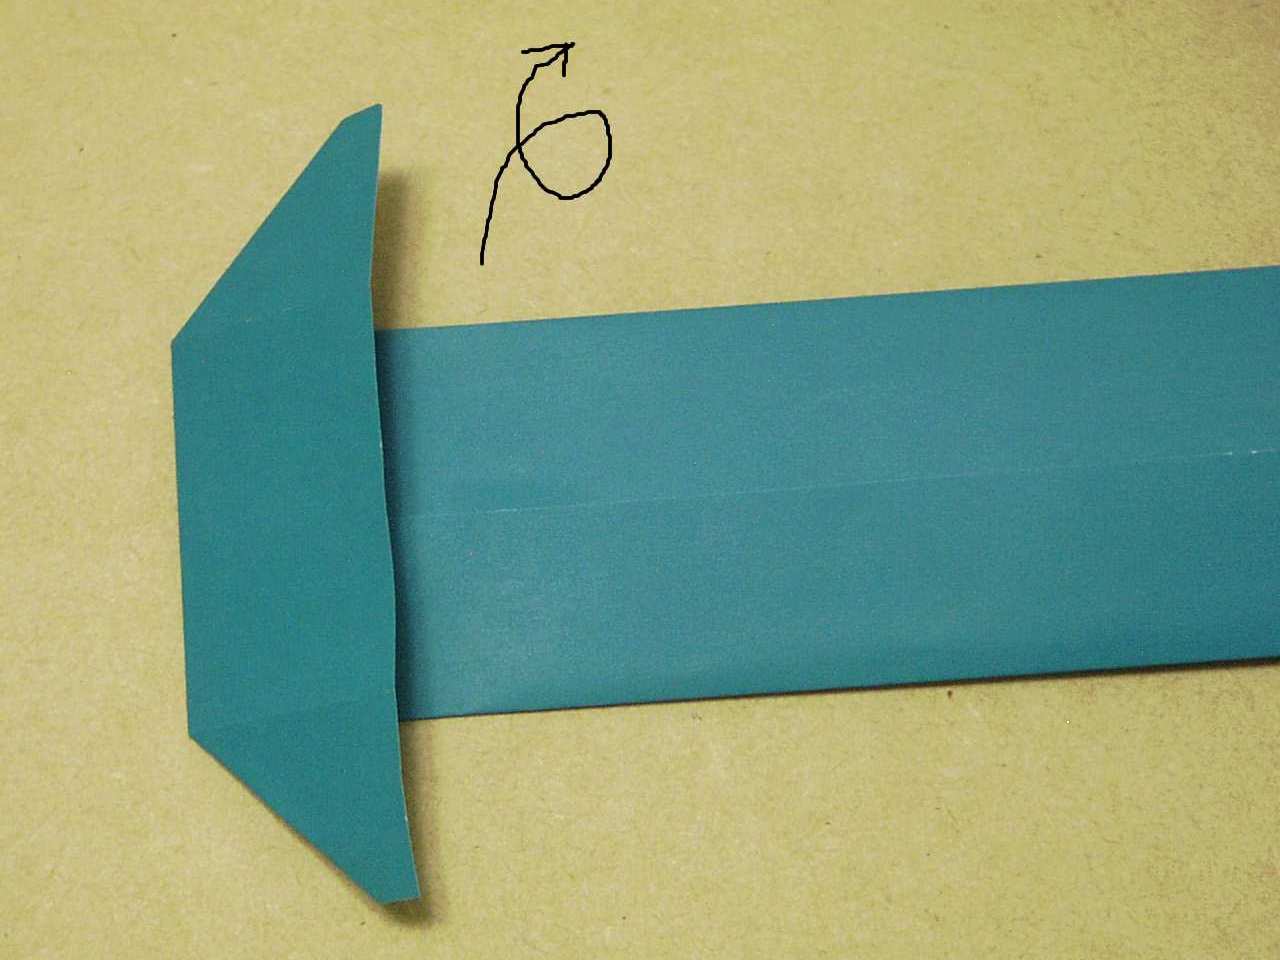 Step 4 Result
This is what you should end up with after completing step 4. Turn the model over.
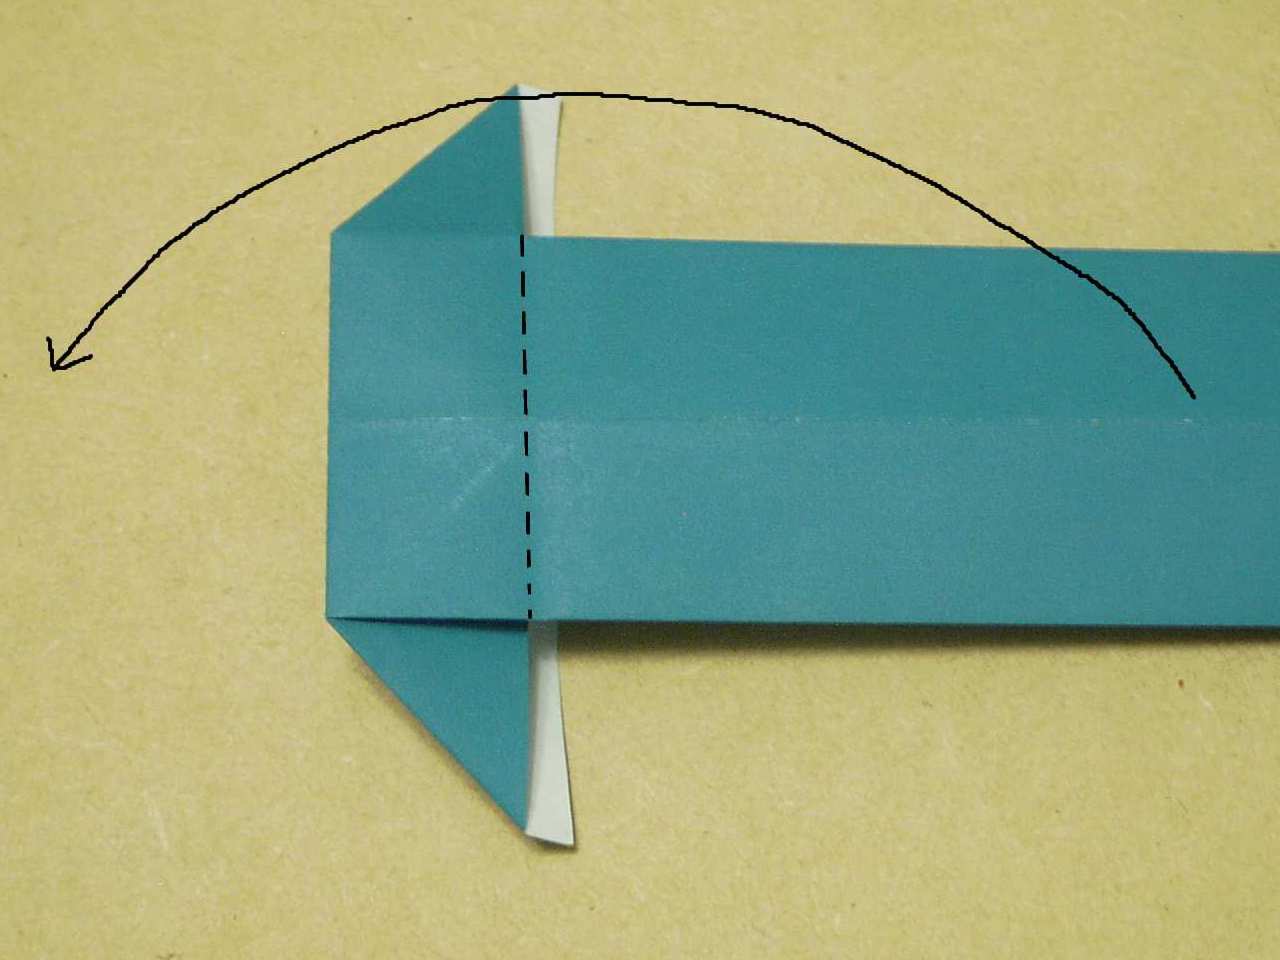 Step 5
Valley fold the rest of the stem over. The crease should line up with the edge of the middle layer of paper and not the edge of the bottom layer.
 Doing Step 5
As seen here.
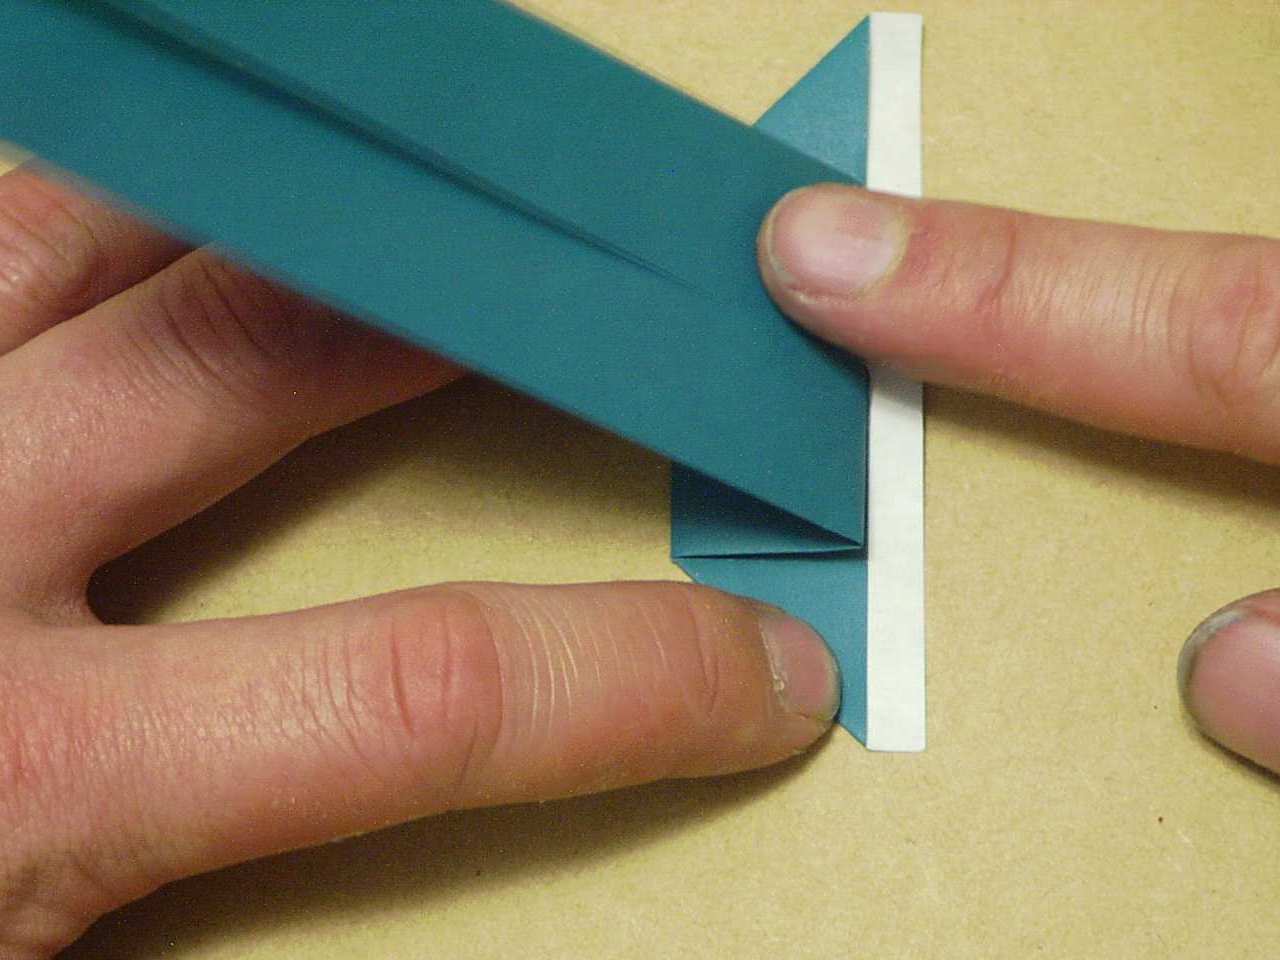
 Step 6
Valley fold the top layers from the corners created in step 5 to the center line as shown.
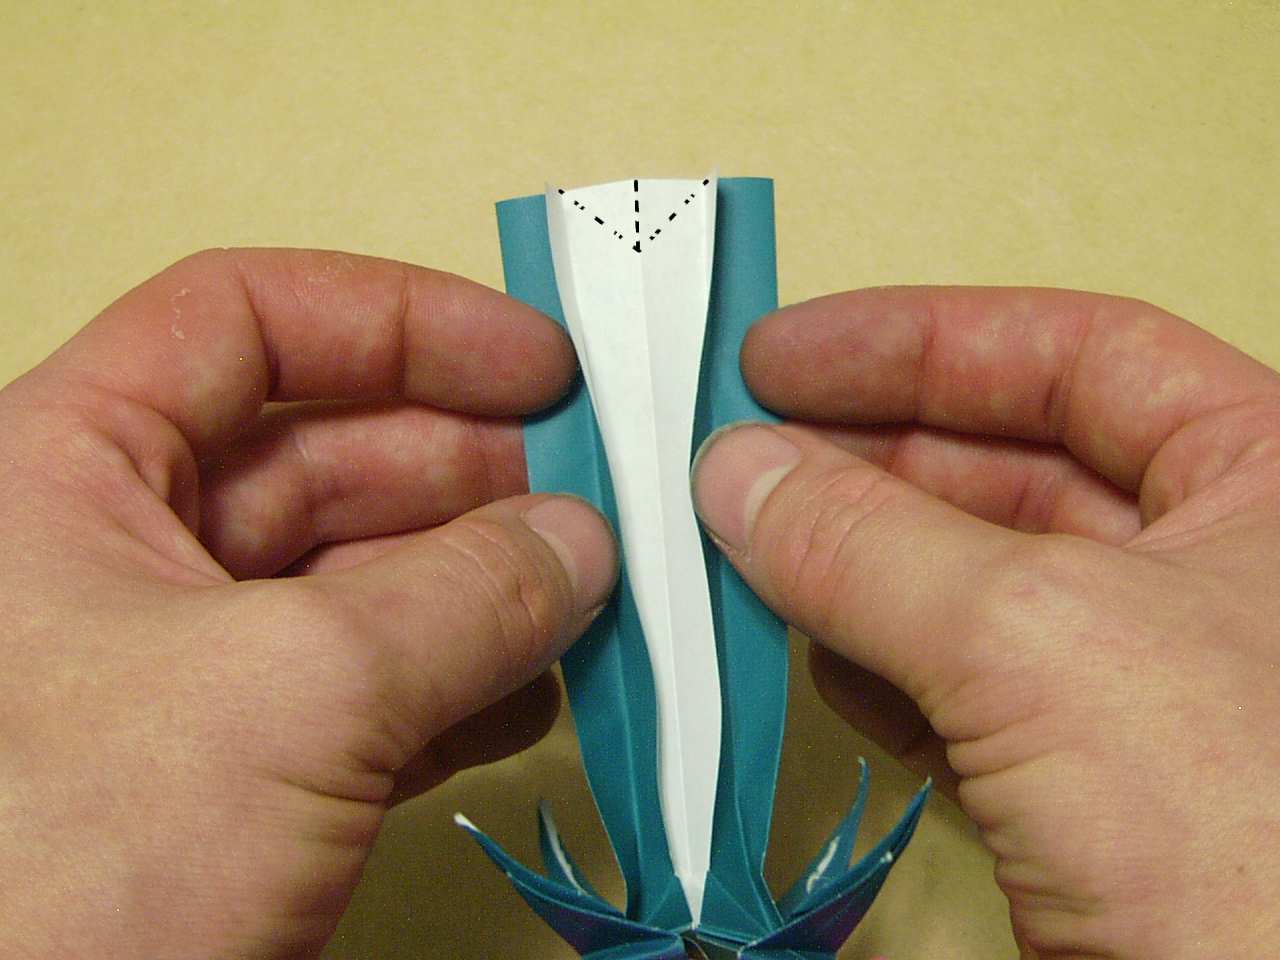
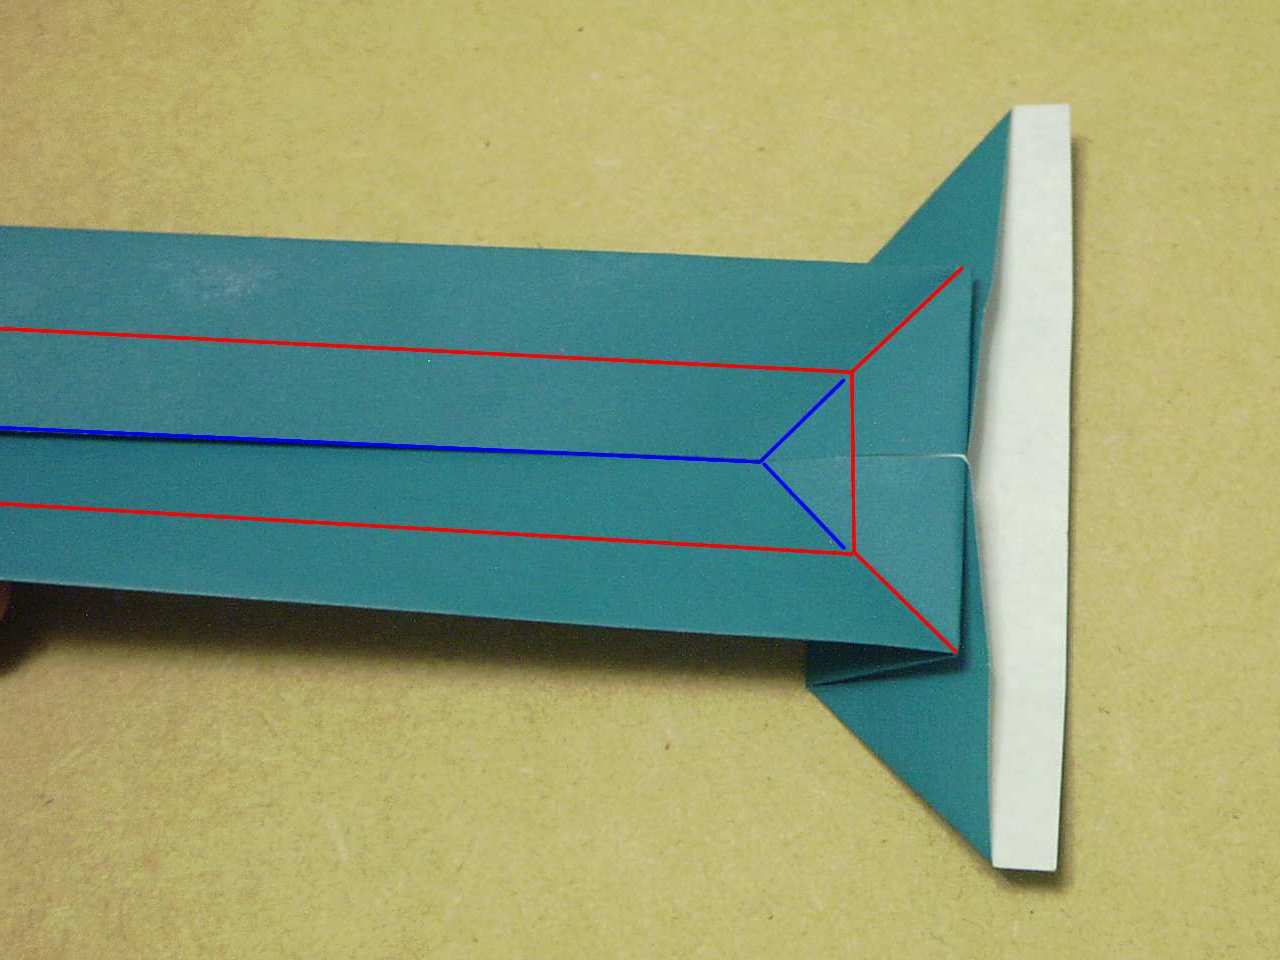 Step 7
This is perhaps the most complicated of all the steps in this process. In this image, blue lines represent mountain folds and red lines represent valley folds. Fold the top layers as shown.
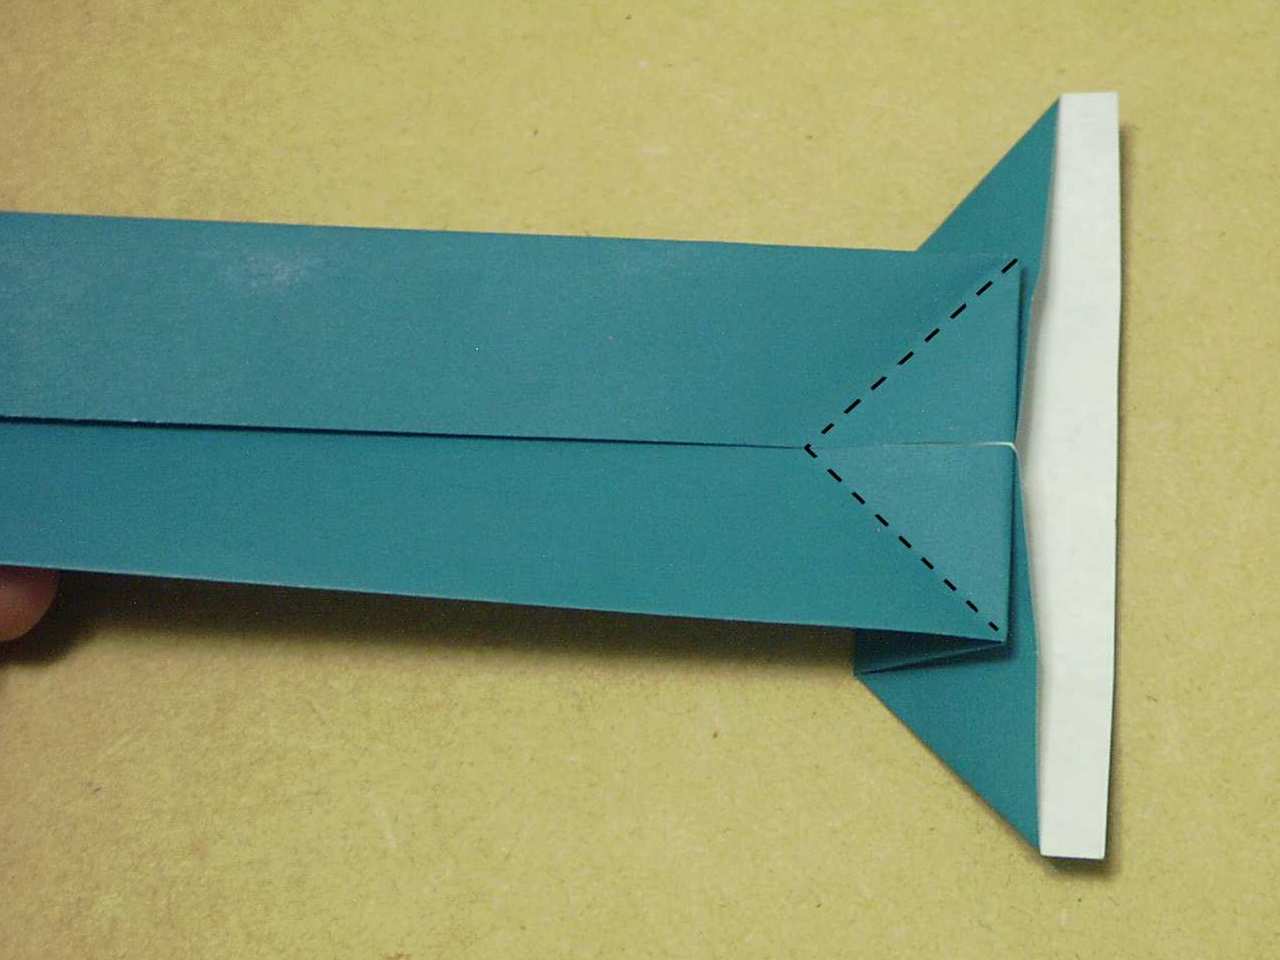
 Step 8
This is more or less what you should end up with after completing step 7. fold the 'wings' over and tuck them in between the other layers of paper.
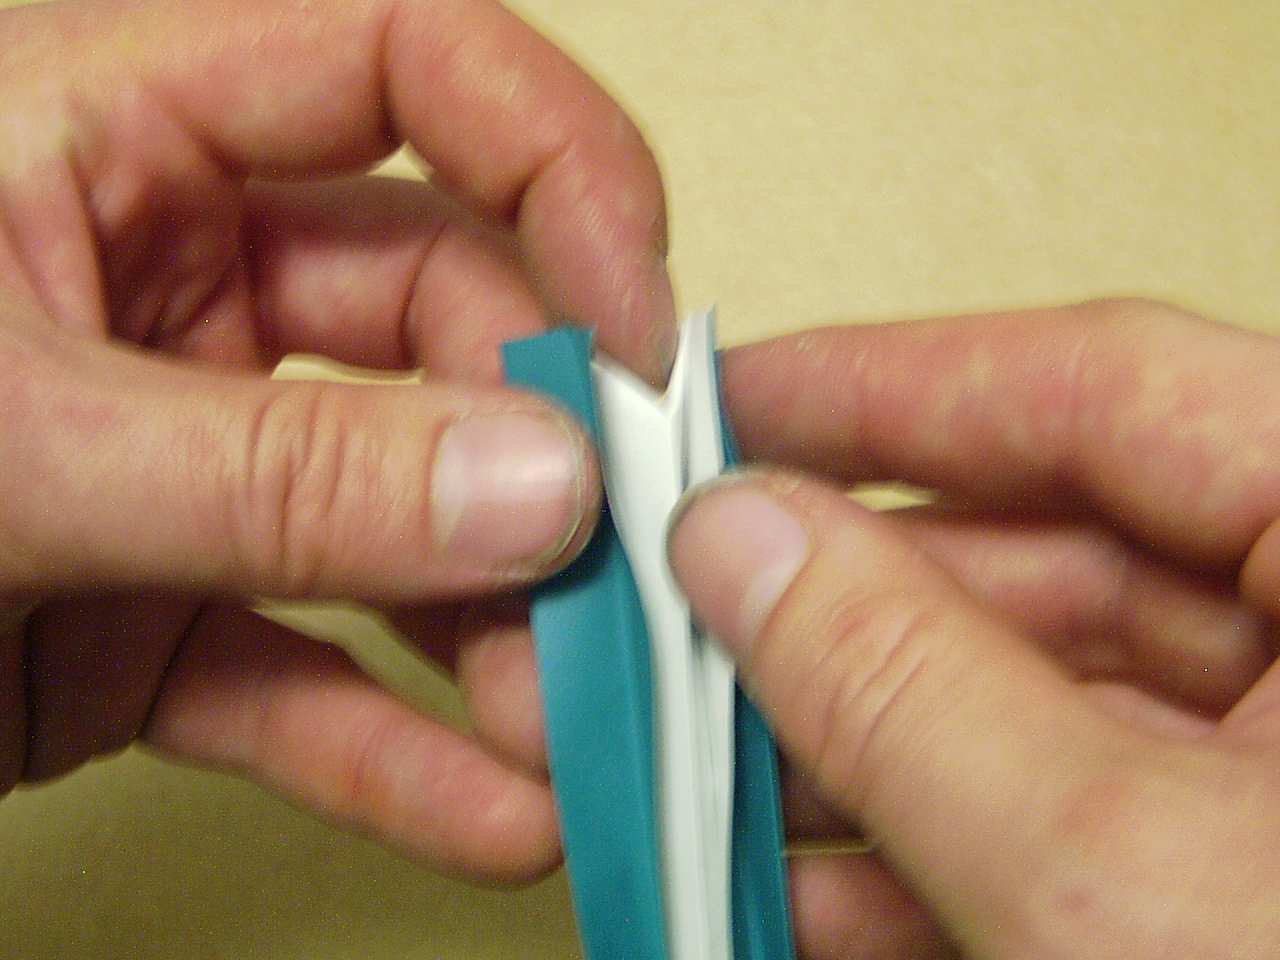
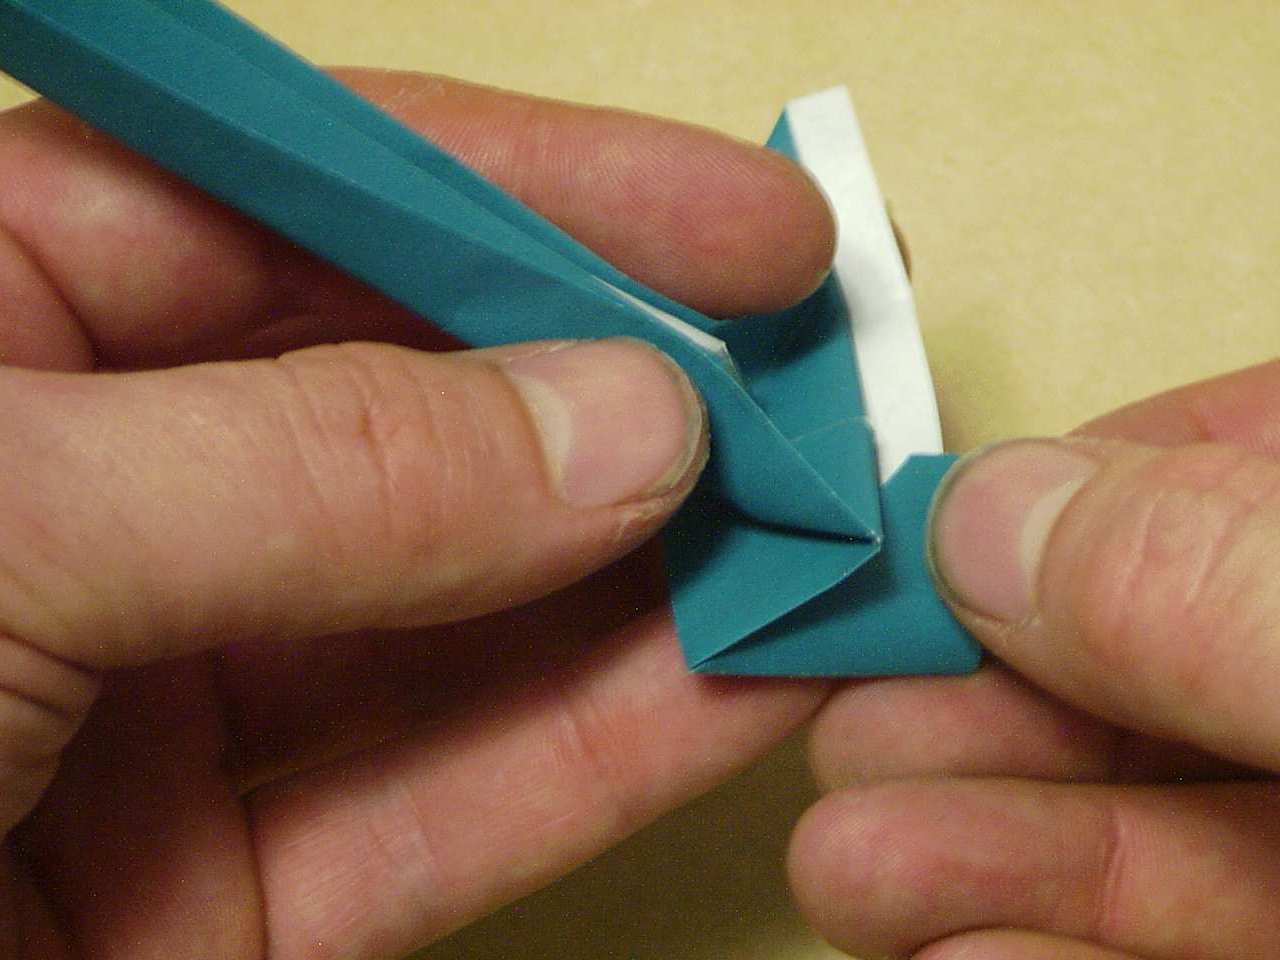 Doing Step 8
This shows me folding one of those 'wings' in between the other layers of paper.
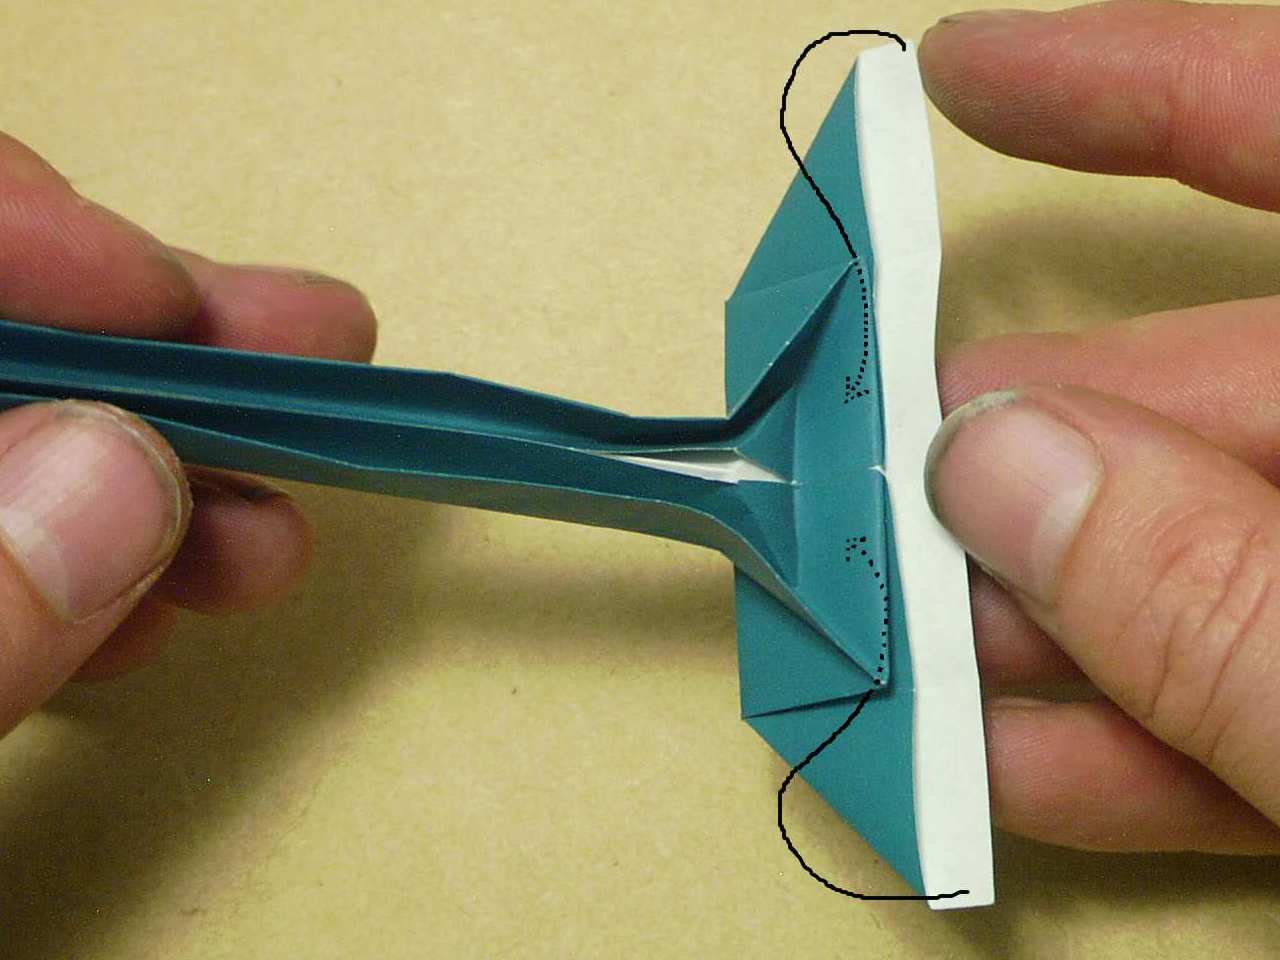
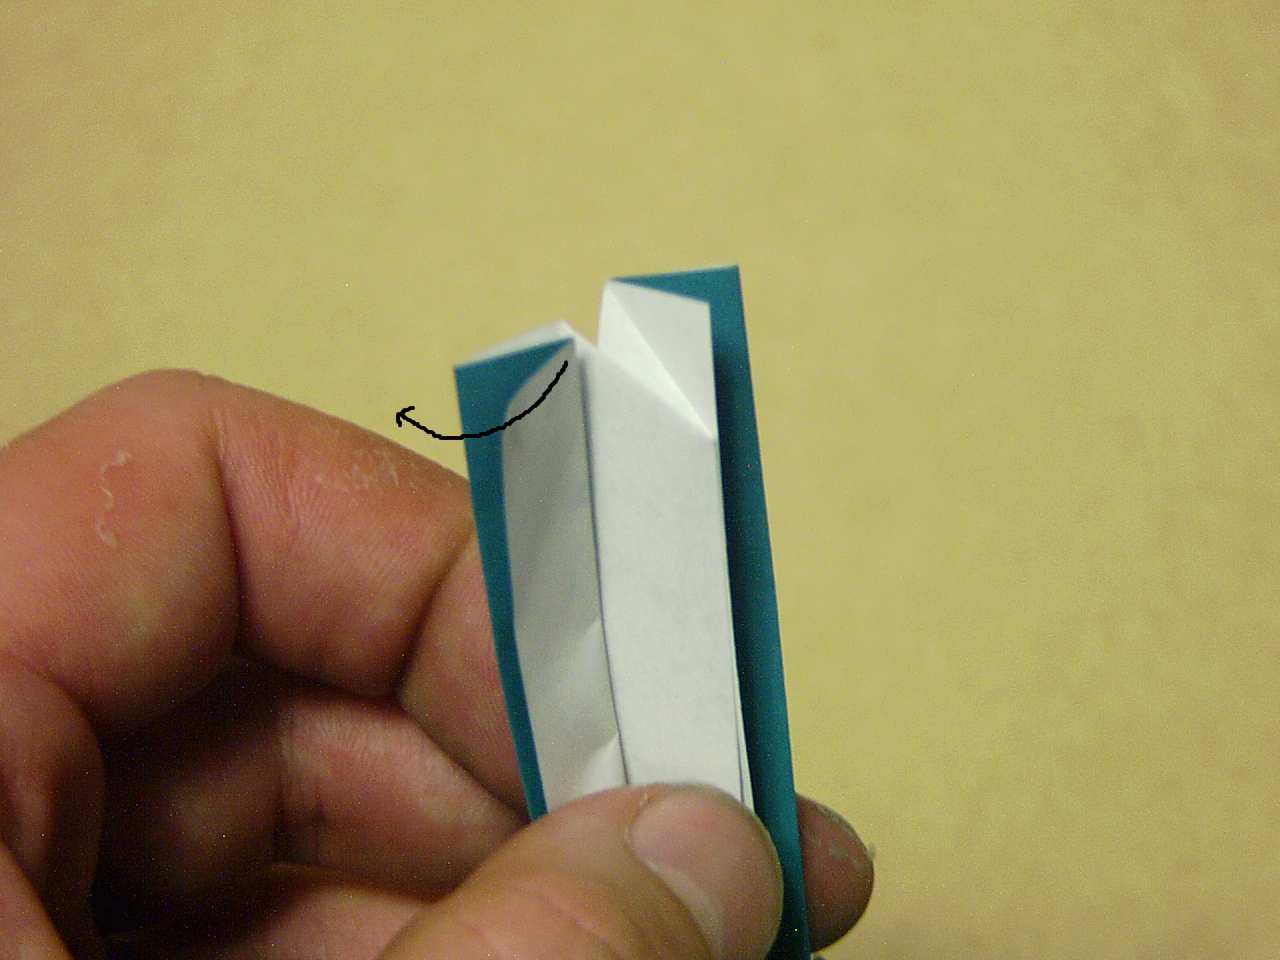
 Step 8 Result
After all that, you should end up with something like this. This is the underside of the platform that attaches to the rose base. Turn it over so that you're looking at the top of the stem.
 Step 9
Valley fold as shown. The goal here is to make this platform into a square so the actual location of the two creases can vary slightly.
 Doing Step 9
It's a little blurred but it should give you a good idea of how it should look when completed.
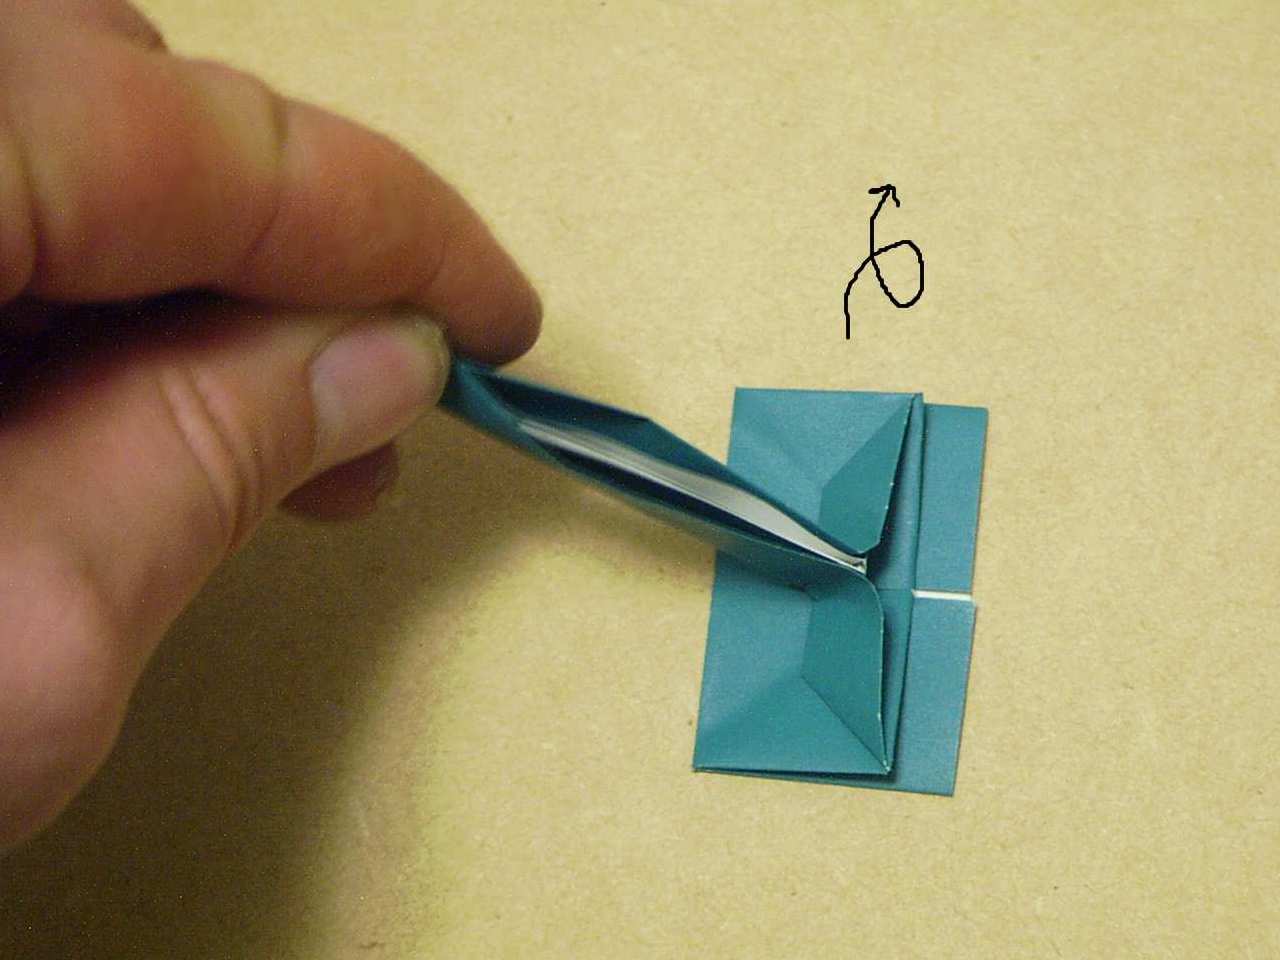
 Step 10
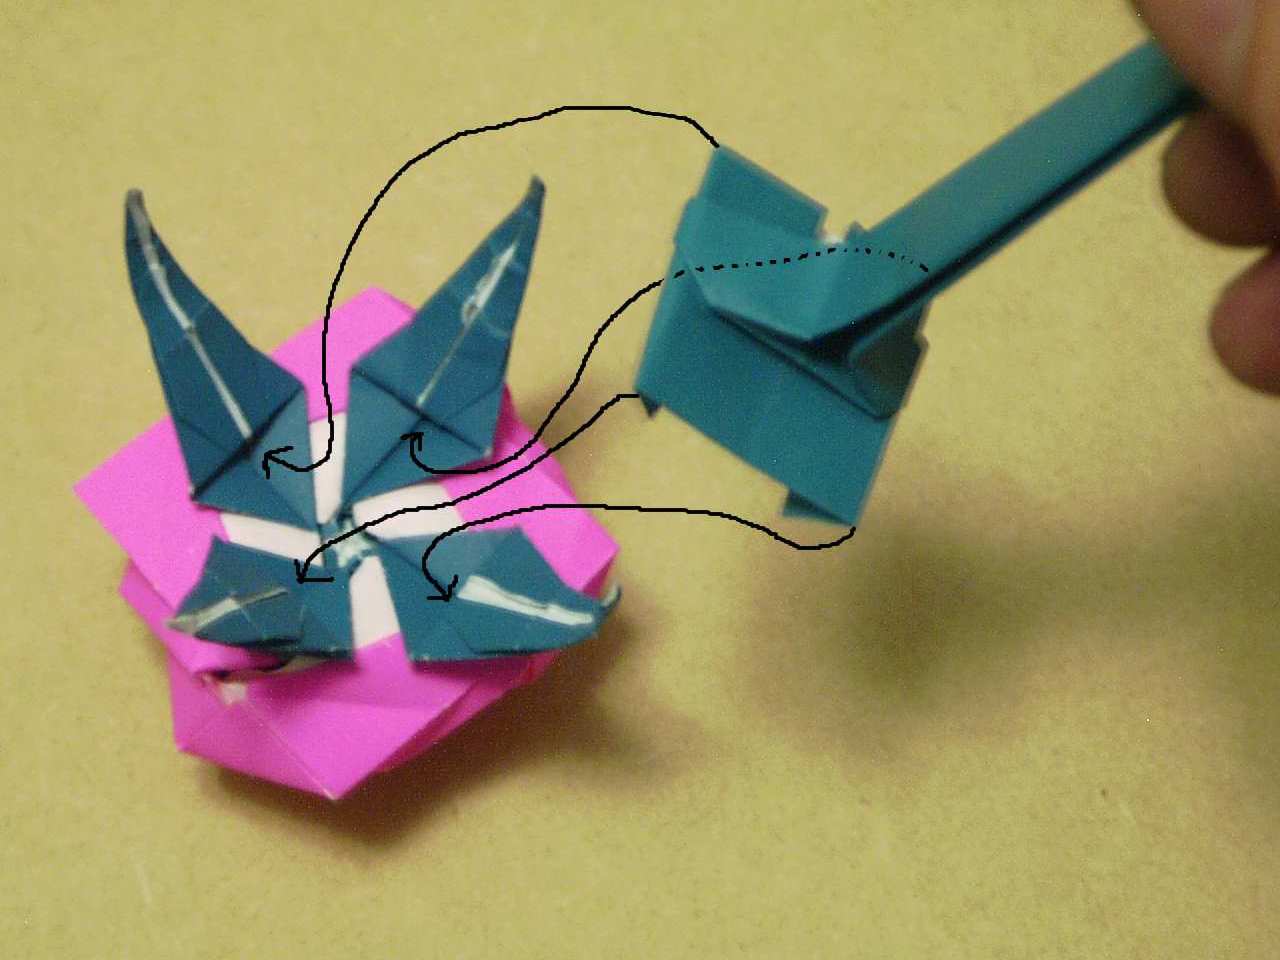
Attach the stem to the base by tucking the corners of the square platform into the pockets in the base of the rose.
 Doing Step 10
This is why we wanted the crease in step 1 to match the distance between corners of the base. It should be a good fit.
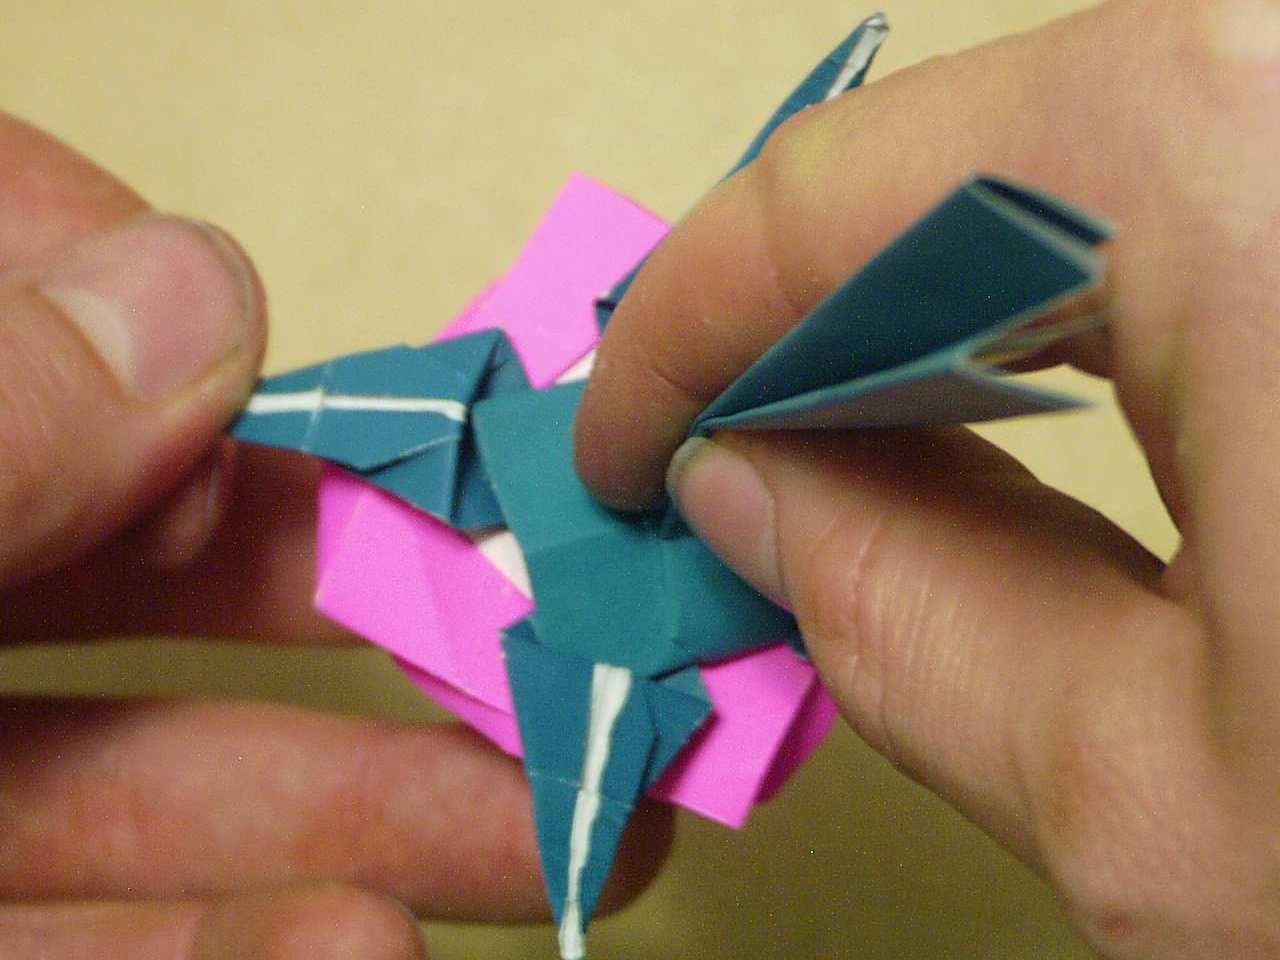
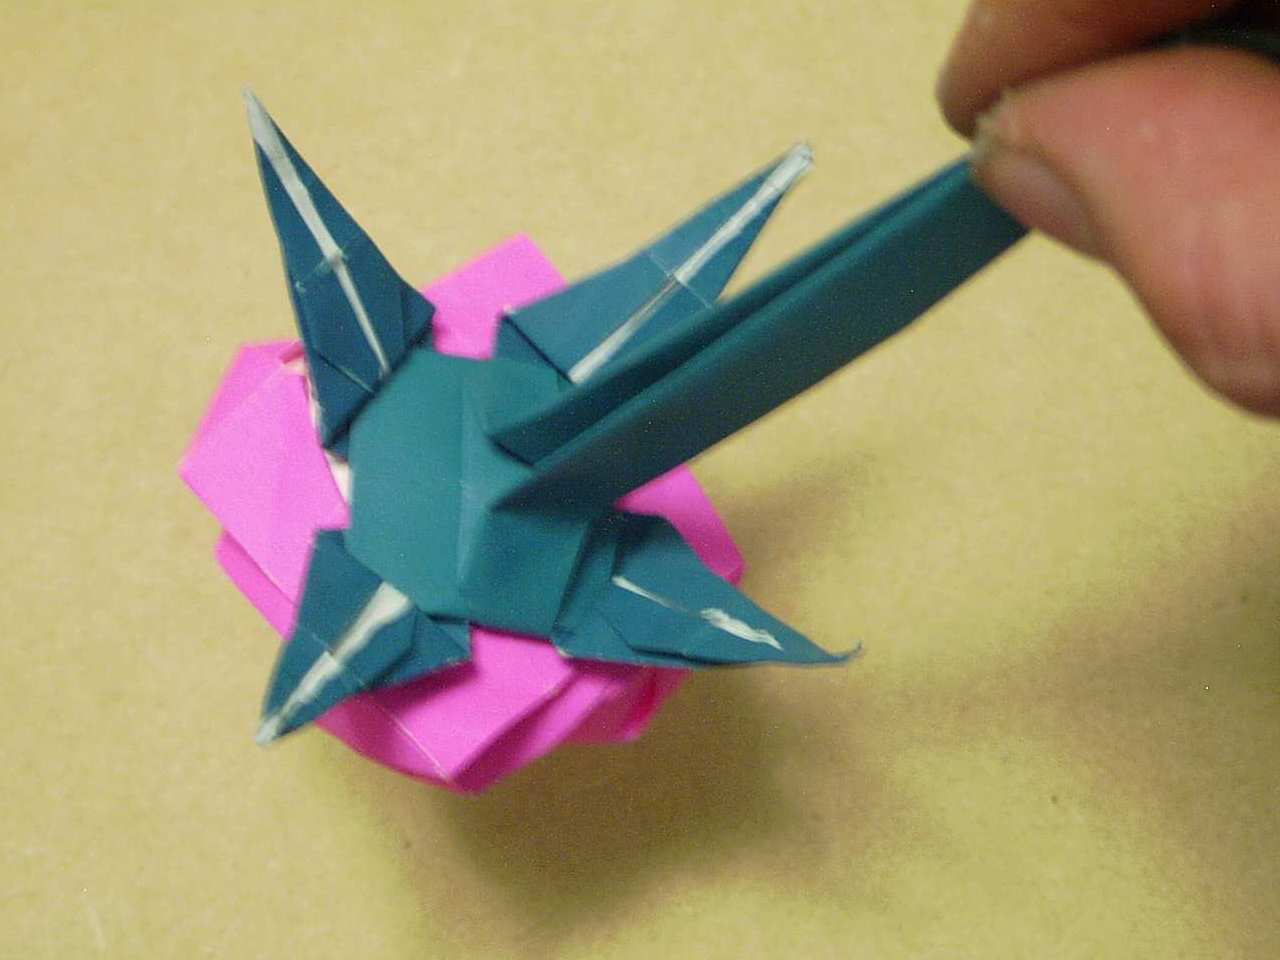 Step 10 Result
Now you've got a rose at the end of your stem... or a stem on your rose, depending on how you look at it. Now for a little work at the other end of the stem.
 Step 11
These last few steps bind the end of the stem. I prefer to do it by folding the paper but if you would like to save a little time, you can use a bit of tape at the end, or skip this altogether if this end of the stem will be stuck out of sight somewhere.
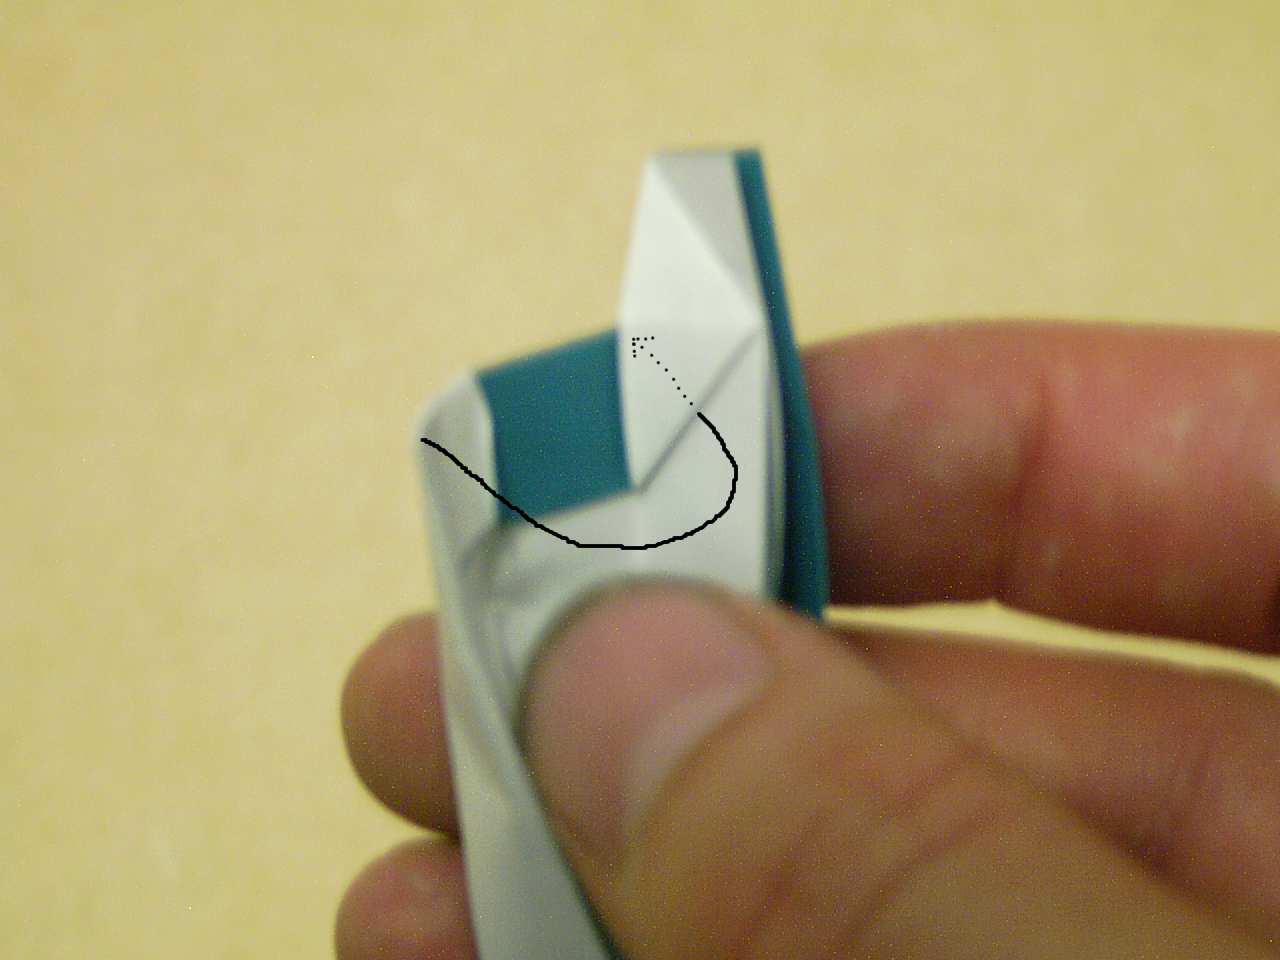
Start by opening up the inner layers as show.
 Step 12
You'll want to view the full size image to see a little more clearly which folds are which. Fold where shown - mountain folds at 45 deegree angles from the point where the creases on either side of the center crease intersect the edge so that the two creases meet at the center crease. Valley fold from that point to the edge.
 Doing Step 12
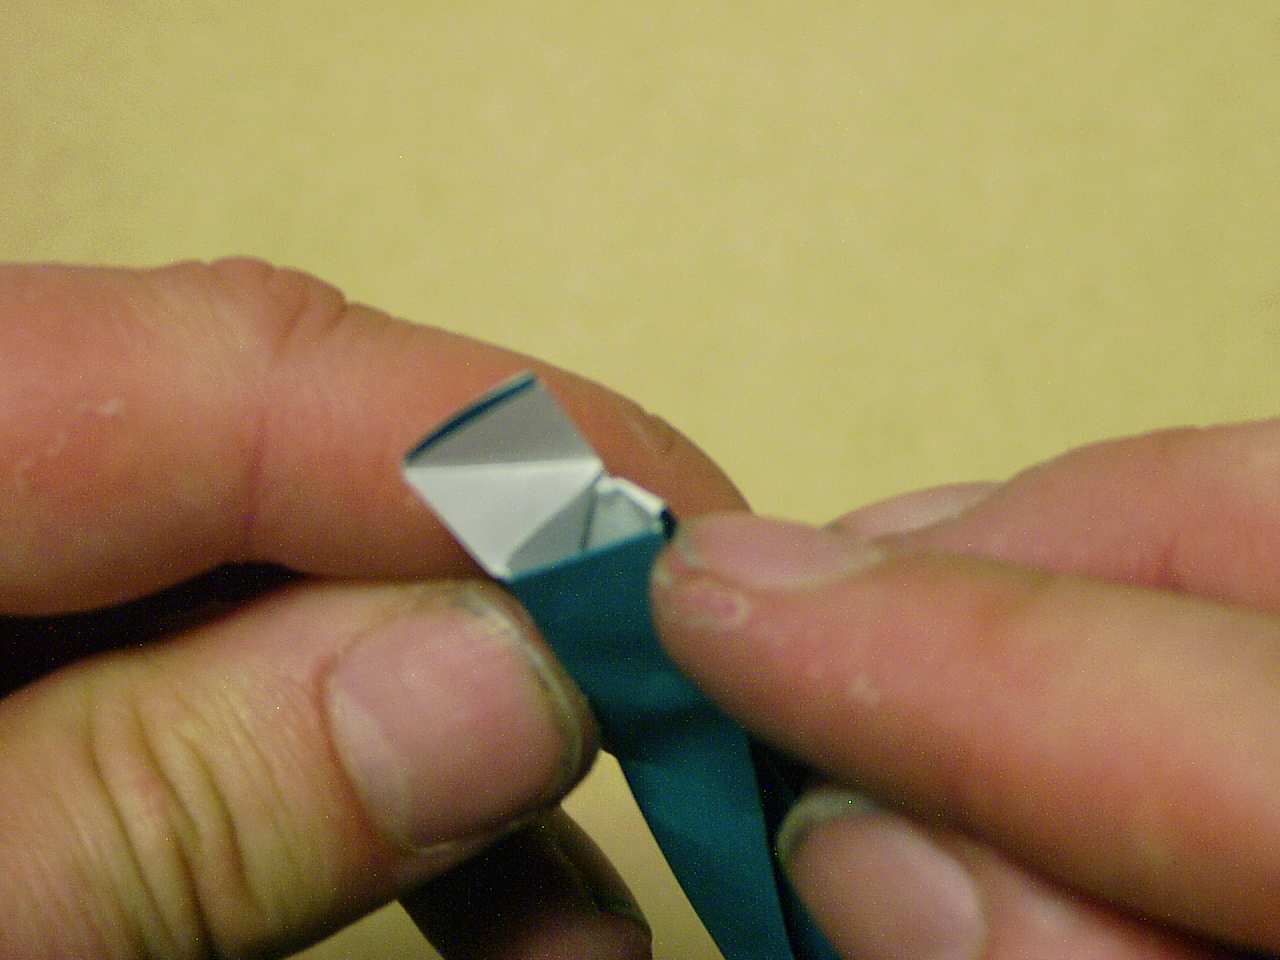
In a rathar blurred view, you can see me doing step 12. It is essentially an inside reverse fold on that inner corner there.
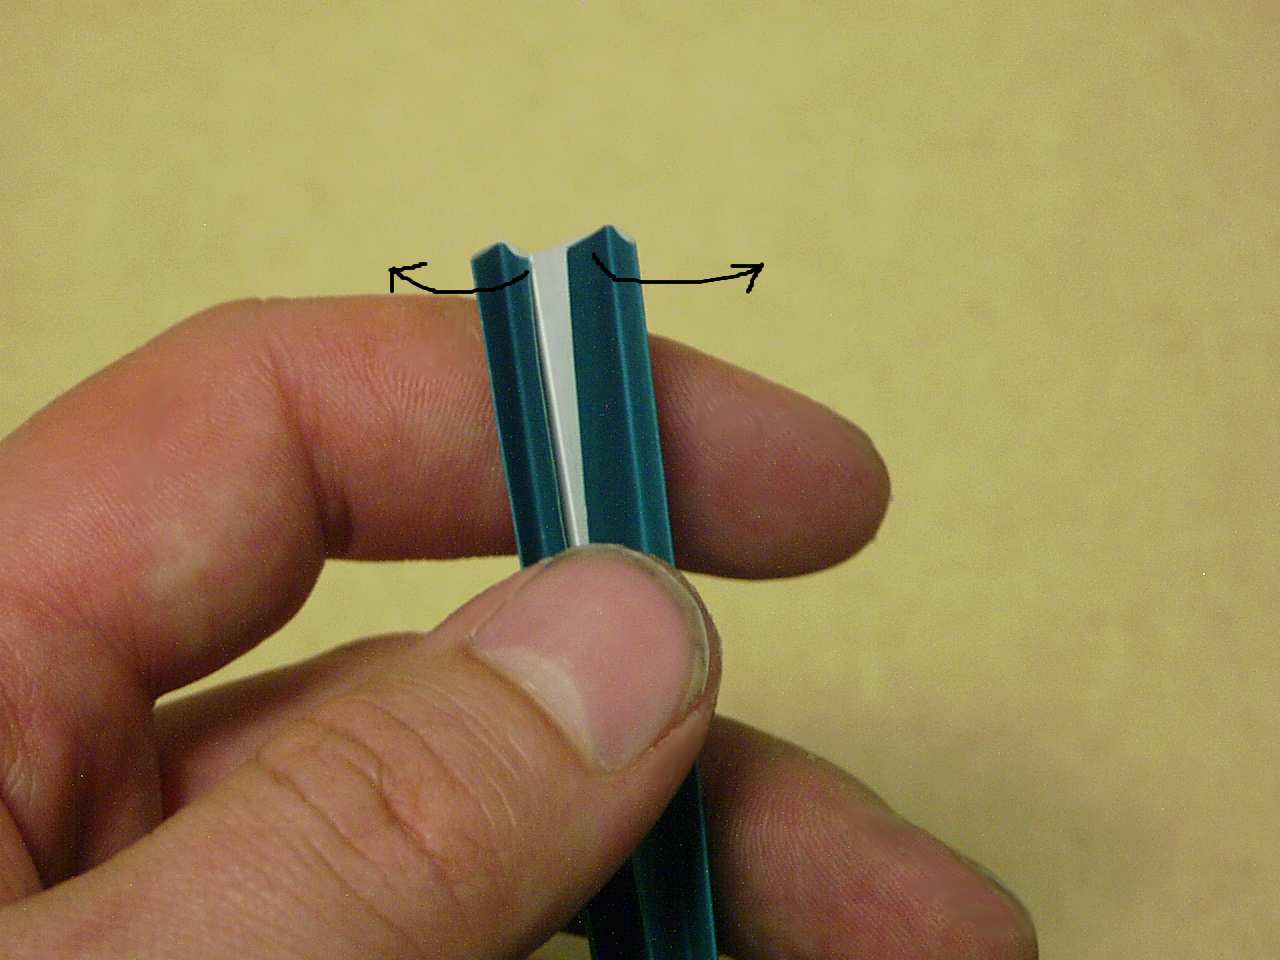
 Step 13
looking at it form the side, open up one more crease. It won't open the entire lenght of the stem without mangling things at the other end so don't force it.
 Step 14
Once you've got that second crease from the center opened up, valley fold where shown - from the point where all the creases intersect in step 12 to the edge. Note that the edge (in this case the left edge) is actually two layers of paper as you will see in the next image.
 Step 15
Once you've completed step 14, refold all the lengtwise creases that you've undone to get to thos point, and tuck the corner into the pocket that was created in step 14.
 Doing Step 15
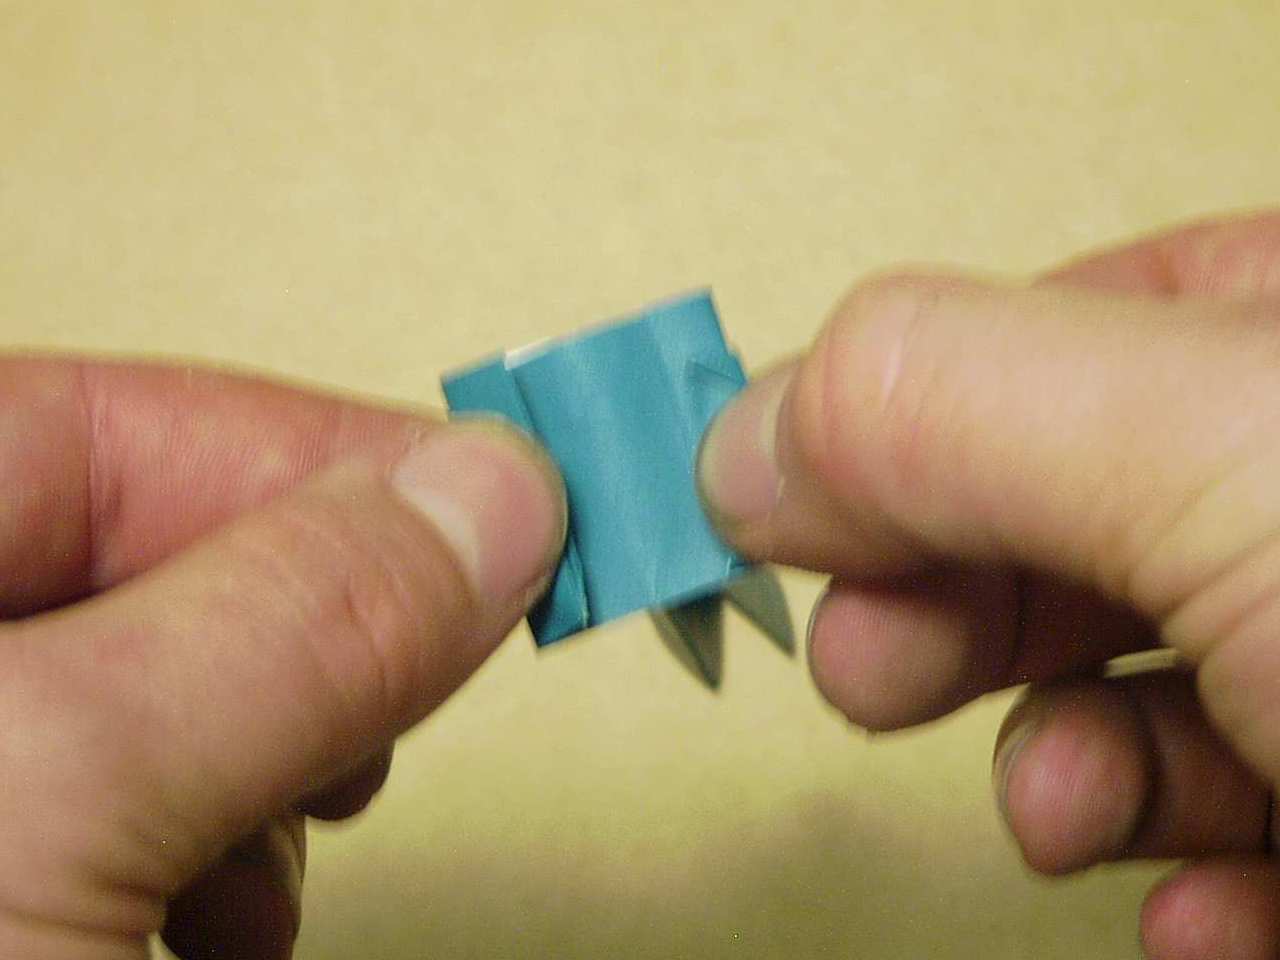
This shows the corner getting stuffed into the pocket. Repeate steps 13-15 on the other side of the stem (not the other end, of course, since it's stuck in the rose at this point.)
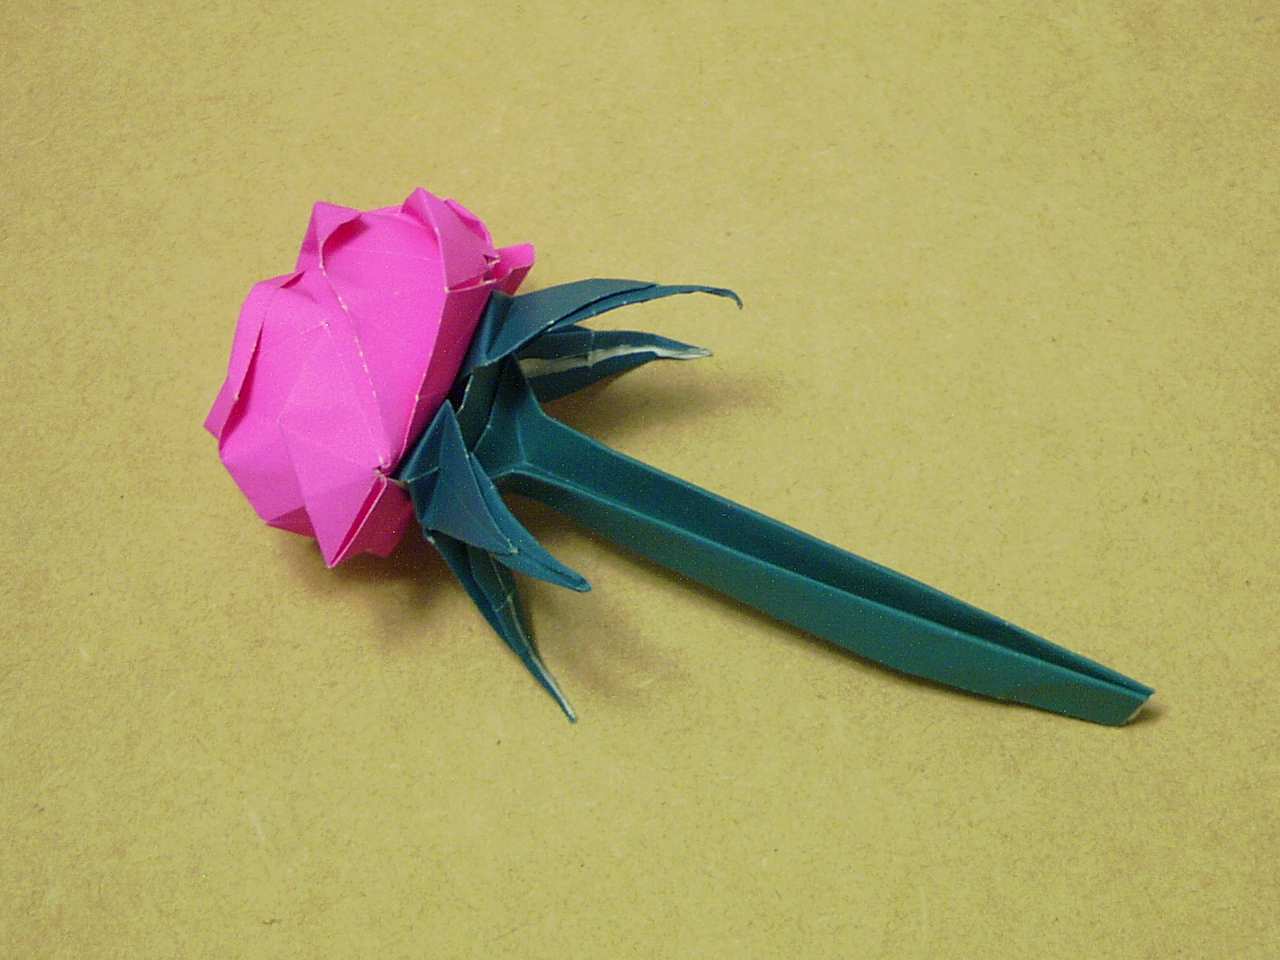 And you're done!
Now you've got a completed rose with a stem.